![]()
Installation
Before installing the extension, please make sure to Backup your web directory and store database
- Unzip the extension package file into the root folder of your Magento 2 installation.
- Connect to SSH console of your server:
- Navigate to the root folder of your Magento 2 setup
Run command as per below sequence,
php-f bin/magentomodule:enable Magedelight_Rma
php-f bin/magentosetup:upgrade
php -f bin/magento setup:static-content:deploy
- Flush store cache
- log out from the backend and log in again
License Configuration
License activation is not required for extension purchased from Magento Marketplace.
After successful installation of RMA extension, you are now required to configure the license key in the admin configuration section. You can set it from:
Step 1: Go to, Admin Control Panel > Stores > Configuration > Magedelight > RMA > License Configuration.
You will find two text boxes asking for Serial Key and Activation Key, which you received on email upon the purchase of extension. See screenshot below:
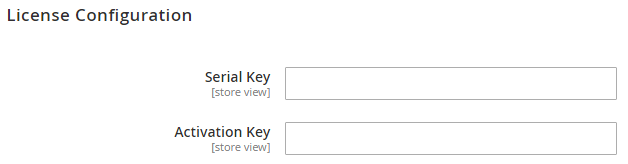
- Serial Key: Enter Serial Key
- Activation Key: Enter Activation Key
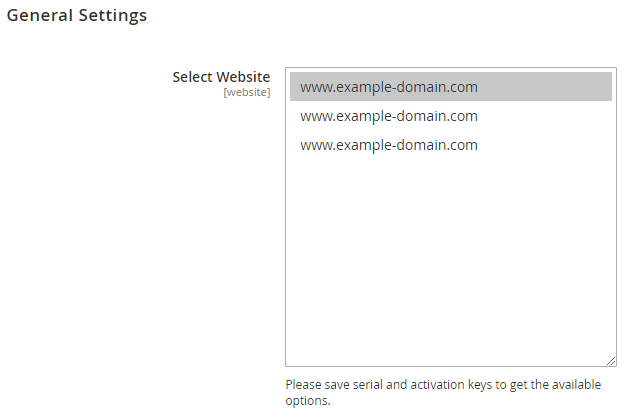
Step 2: Expand “General Configuration” tab, you will find a list of domains for which license is purchased and configured, now select the domain you are going to use, you can select multiple domains by clicking “Ctrl + Select”.
Step 3: Now, select “Yes” from “Enable Module” to enable extension and again click on “Save Config” button on the top right.

Backend Configuration (Admin side)
Admin Control Panel > RMA > Settings > General Configuration
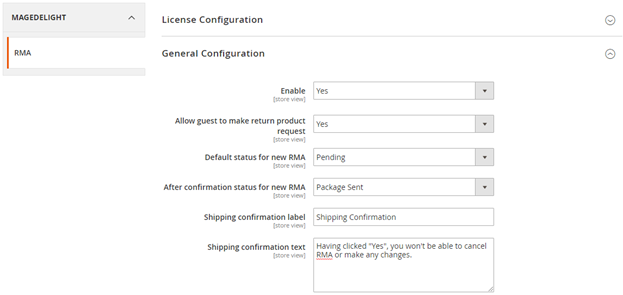
- Enable: To enable/disable RMA feature from here. It has two options, select “Yes” to enable and “No” to disable this feature.
- Allow guest to make a return product request: If you want to allow your guest user to make return product then set as “Yes” else set as “No”.
- Default status for new RMA: You can set default status for your RMA request from here. When user will initiate a return request, this status will be set by default to your return request.
- After confirmation status for new RMA: You can set default status to be set, once buyer’s confirms shipping.
- A Shipping confirmation label: You can set a customized title of “Confirm shipping” pop-up from here. A Pop-up will appear buyer’s side on click of “Confirm Shipping” button.
- Shipping confirmation text: You can set customized description of “Confirm shipping” pop-up from here. Pop-up will appear buyer’s side on click of “Confirm Shipping” button.
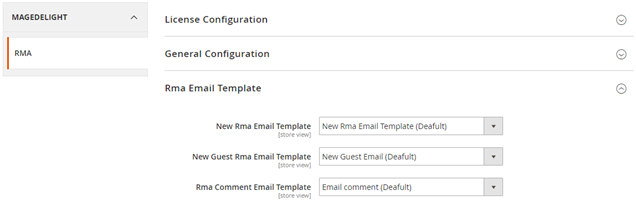
- New RMA Email Template: You can set default email template to send email to registered buyer, when buyer generates a new RMA request.
- New Guest RMA Email Template: You can set default email template to send email to guest buyer, when buyer generates a new RMA request.
- RMA Comment Email Template: You can set default email template to send email to the buyer, when any comments added to RMA request.
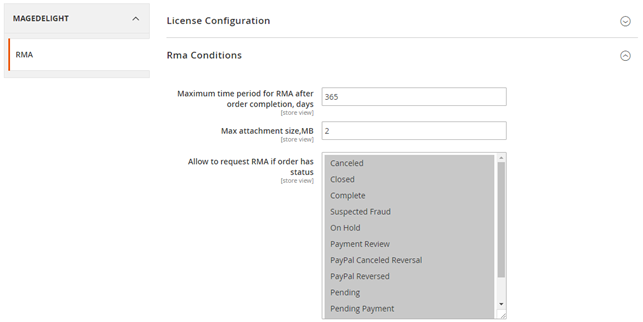
- Maximum time period for RMA after order completion (in days): You can set maximum days to allow RMA, once order is completed.
- Max attachment size (in MB): You can set the maximum size to allow to upload attachments.
- Allow to request RMA if order has status: You can set “Order Status” which are allowed to request RMA.
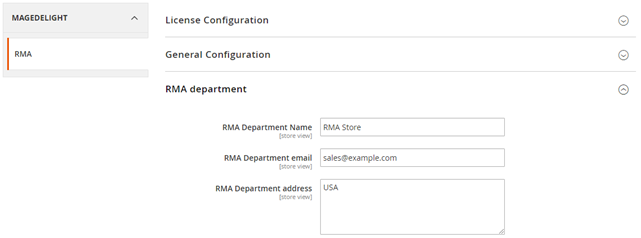
- RMA Department Name: You can set RMA department name from here.
- RMA Department Email: You can set RMA department email here.
- RMA Department Address: You can set RMA department address here.
Backend Functionality
RMA Attributes
Resolutions
Admin Control Panel > RMA > RMA Attributes> Resolutions
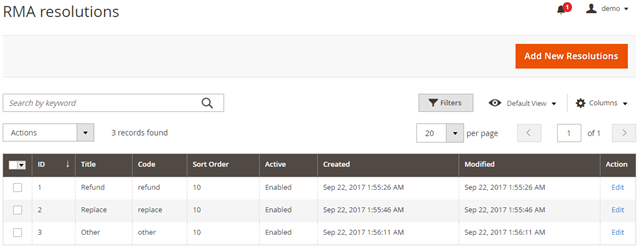
- Resolution Status List: You can see previously added resolution status in grid view as above image.
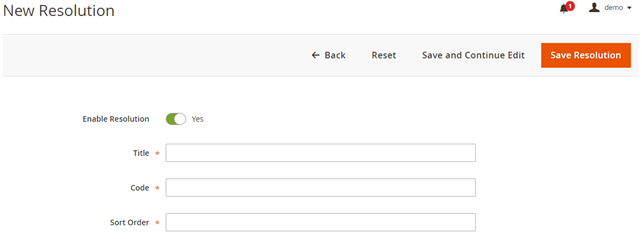
- Add New Resolutions: You can add new resolution status by clicking on this button.
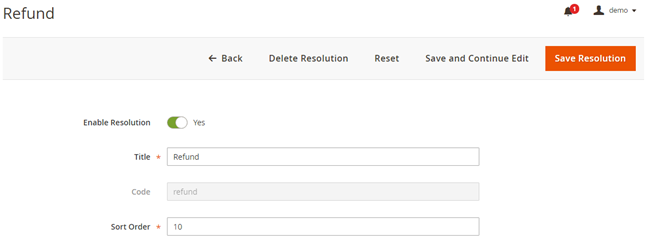
- Action > Edit: You can edit an existing resolution status from here. You will be redirected to a new page with existing values, Modify values and click on “Save Resolution” on top.
Conditions
Admin Control Panel > RMA > RMA Attributes> Conditions
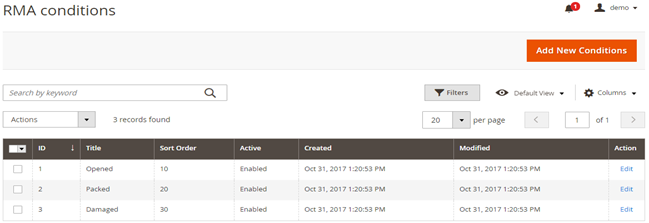
- Conditions List: You can see previously added conditions in grid view as above image.
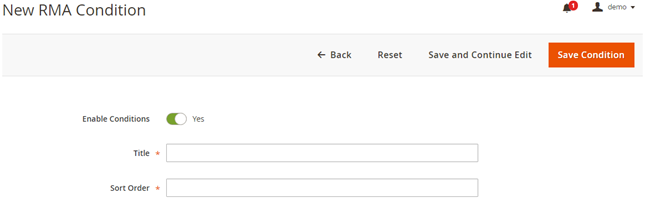
- Add New Conditions: You can add a new condition by clicking on this button.
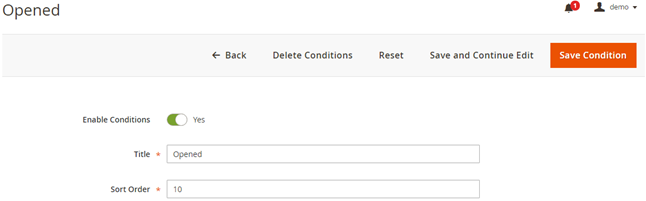
- Action > Edit: You can edit existing condition from here. You will be redirected to new page with existing values, Modify values and click on “Save Condition” on top.
Statuses
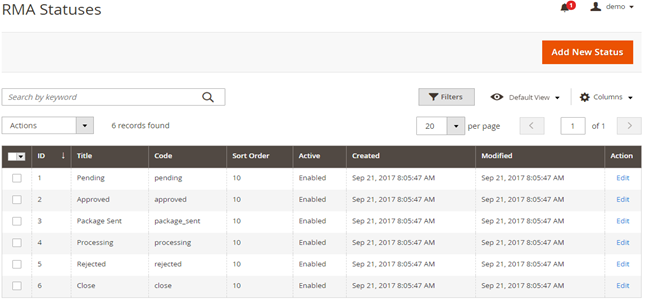
- Status List: You can see previously added statuses in grid view as above image.
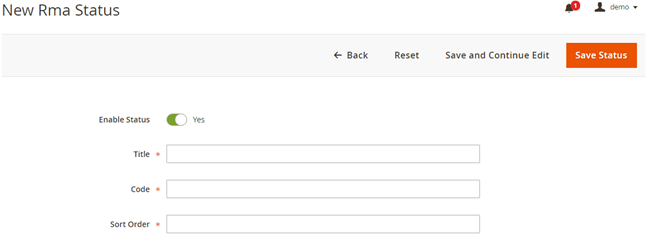
- Add New Status: You can add new status by clicking on this button.
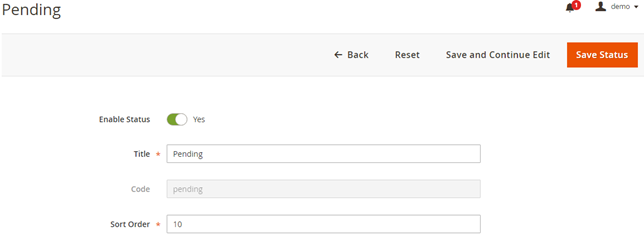
- Action > Edit: You can edit the existing status from here. You will be redirected to a new page with existing values, Modify values and click on “Save Status” on top.
Reasons
Admin Control Panel > RMA > RMA Attributes> Reasons
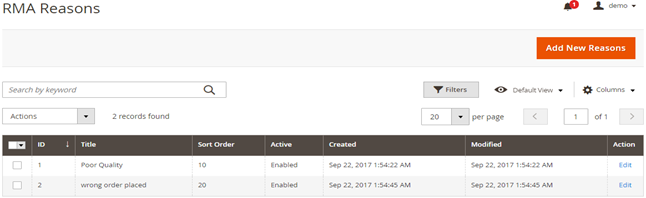
- Reason List: You can see previously added reasons in grid view as above image.

- Add New Reason: You can add a new reason by clicking on this button.
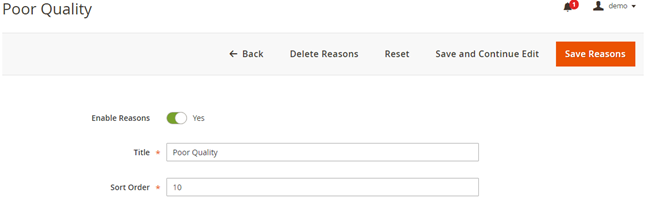
- Action > Edit: You can edit existing reason from here. You will be redirected to new page with existing values, Modify values and click on “Save Reason” on top.
Custom Fields
Admin Control Panel > RMA > RMA Attributes> Custom Fields
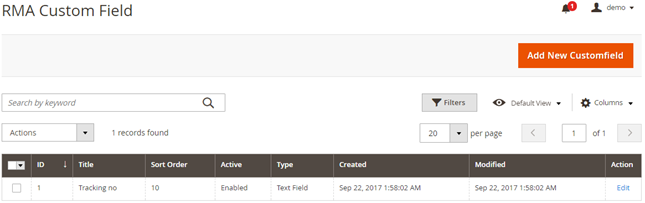
- Custom Field List: You can see previously added fields in grid view as above image.
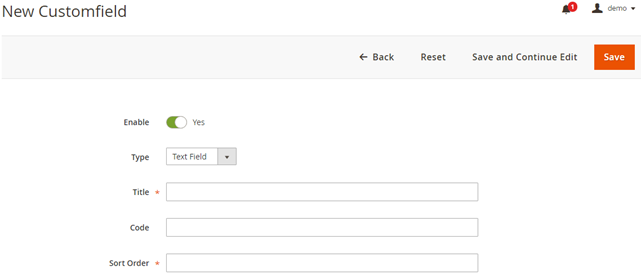
- Add New Field: You can add new fields by clicking on this button.
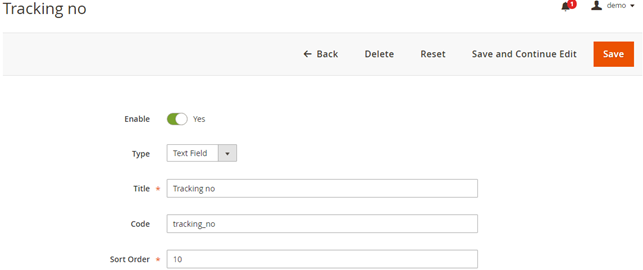
- Action > Edit: You can edit existing fields from here. You will be redirected to new page with existing values, Modify values and click on “Save” on top.
Frontend Functionality
Demo
Click here to visit product detail page.
Click here to visit frontend.
Click here to visit backend admin panel.
Sample Data
FAQs
Thank you for choosing MageDelight!