
Installation
Before installing the extension, please make sure to Backup your web directory and store database
- Unzip the extension package file into the root folder of your Magento 2 installation.
- Connect to SSH console of your server:
- Navigate to the root folder of your Magento 2 setup
Run command as per below sequence,
php-f bin/magentomodule:enable Magedelight_ScheduleShipping
php-f bin/magentosetup:upgrade
php -f bin/magento setup:static-content:deploy
- Flush store cache
- log out from the backend and log in again
License Configuration
License activation is not required for extension purchased from Magento Marketplace.
After successful installation of Delivery Date extension, you are now required to configure the license key in the admin configuration section. You can set it from:
Step 1: Go to, Admin Control Panel > Stores > Configuration > Magedelight > Schedule Shipping > License Configuration.
You will find two text boxes asking for Serial Key and Activation Key, which you received on email upon the purchase of extension. See screenshot below:
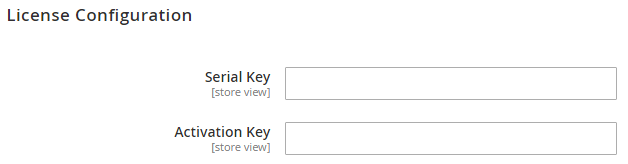
- Serial Key: Enter Serial Key
- Activation Key: Enter Activation Key
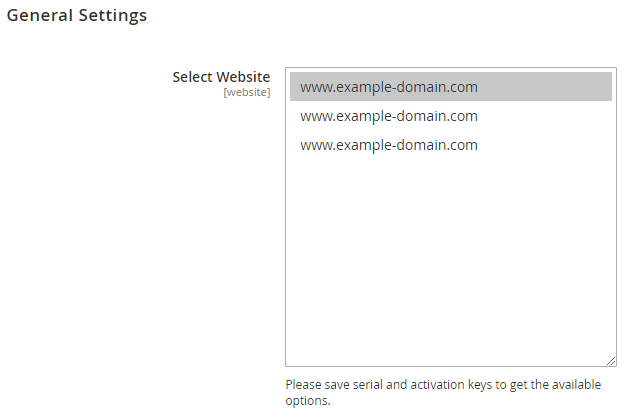
Step 2: Expand “General Configuration” tab, you will find a list of domains for which license is purchased and configured, now select the domain you are going to use, you can select multiple domains by clicking “Ctrl + Select”.
Step 3: Now, select “Yes” from “Enable Module” to enable extension and again click on “Save Config” button on the top right.

Backend Configuration (Admin side)
This extension will provide an option to manage schedule delivery date and time slots, for product delivery. Customer can choose particular date and time slot to deliver products, put message to merchant for special condition.

- Enable delivery date: Enable/Disable delivery date options.
- Label for Delivery Date: Merchant can manage delivery date label from here.
- Make Delivery Date Mandatory: Set schedule delivery mandatory or optional.
- Label for Delivery Charges: set label for delivery charges, will be reflected across the website.
- Enable Delivery Comments: Yes/No, you can turn on or off comment option for customer at checkout.
- Label for Delivery Comment: set label for delivery comment.
- Enable Call Me Before Delivery: Turn on or off call me check box before delivery.
- Show Additional Info: Set this option to “Yes” to display additional comment of admin on frontend.
- Do You Want Email Notification?: Enable/disable email notification about delivery.
- Send Reminder of Occurrence Before: Number of days before the delivery
- Email Notification Id: Set email id from which notification would be sent.
- Allowed Customer Groups: Select customer groups to give access to delivery date functionality.
Calendar view

- Show delivery schedule in: calendar view/time slot. If set to calendar, customer can select date from calendar. If select time slot, customer will get option to choose time slop option from available times.
- Enable Time in Calendar: If calendar view is enabled, you can show option to show time slot in calendar to choose for customer.
- Minimum interval of days between the order and delivery date: You can define number of day after customer can choose date for schedule delivery.
- Same Day Delivery: Yes/No. You can enable same day delivery.
- Same Day Delivery Charges: If same day delivery is enabled, you can define charges for same day delivery.
- Next Day Delivery: Yes/No. You can enable next day delivery.
- Next Day Delivery charges: If next day delivery is enabled, you can define charges for same day delivery.
Time Slot View
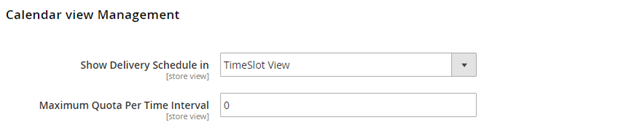
- Show Delivery Schedule in: select TimeSlot View to allow customers to select the time slot of the day.
- Maximum Quota Per Time Interval: Set the maximum number of deliveries that can be sent per time slot. Once the delivery quota exceeds, customers will not be able to select that particular delivery time slot.
Time slot setting
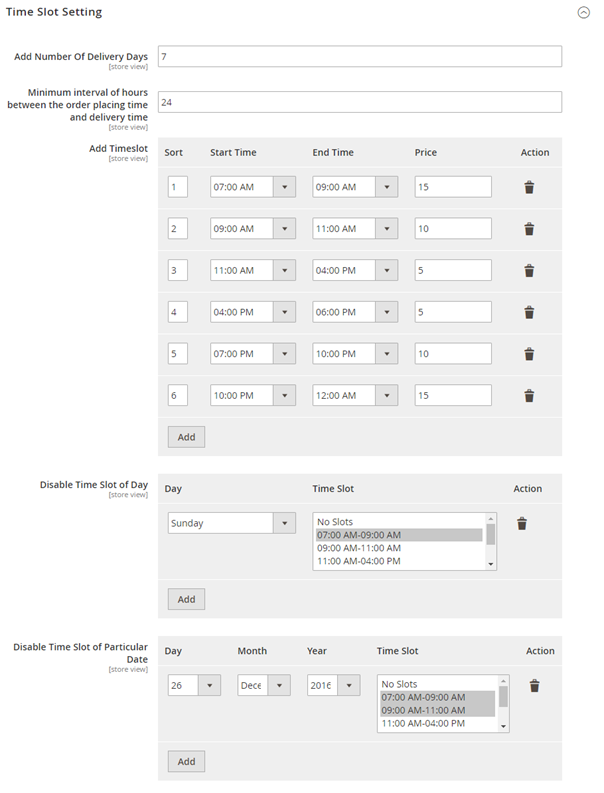
- Add Number of delivery days: Define number of days to show time slots for next days.
- Minimum interval hours between order placing time and delivery time: you can set time gap, after delivery slot can be chosen to schedule delivery.
- Add Time slot: you can define multiple number of slots and price for delivery date. This time slots will be common for all days. However, you can disable selected slots for particular days and dates.
- Disable time slot for day: Disable particular time slots for particular week days. I.e. 4 PM to 8 PM time slot wouldn’t be available for Sundays.
- Disable time slot for date: Disable particular time slots for particular date. I.e. 4 PM to 8 PM time slot wouldn’t be available on 1st January.
Holiday Management
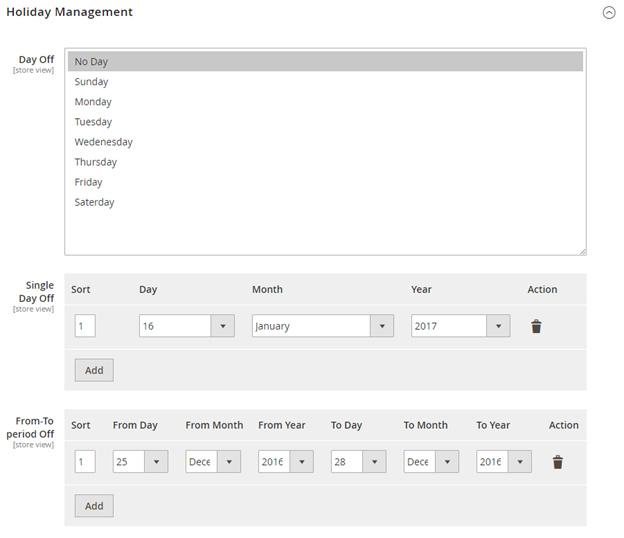
- Day Off: You can select days from week day for day off. That particular day will not be available for customer to choose schedule delivery.
- Single Day Off: You can choose specific date for holiday or day off. That will skip from schedule delivery calendar.
- From-to period off: Manage vacation period for multiple leave together. You can define start date and end date to define vacation period. Customer will not able to choose those days for schedule delivery.
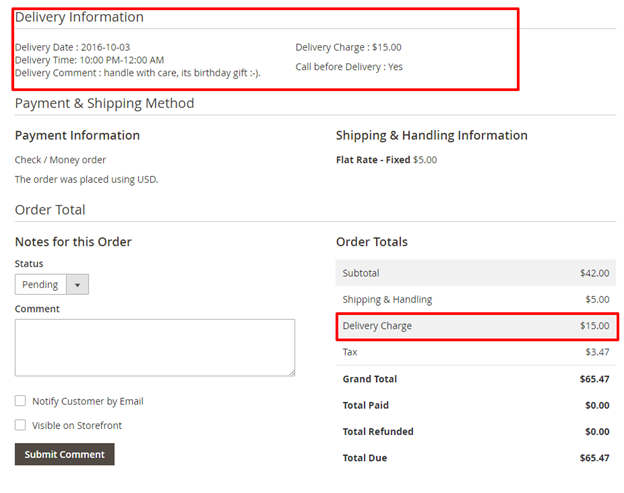
Schedule Delivery summary in order/invoice/credit memo
Schedule delivery summary will be available for each order, invoice and credit memo. Kindly refer below images for each with detail.
Backend Functionality
Frontend Functionality
Demo
Click here to visit product detail page.
Click here to visit frontend.
Click here to visit backend admin panel.
FAQs
Thank you for choosing MageDelight!