
Installation
You will require to install MageDelight Base Extension first. If it is not installed then please download it from https://www.magedelight.com/pub/extensions/magedelight-base.zip and unzip the package file into the root folder of your Magento 2 installation.
Before installing the extension, please make sure to Backup your web directory and store database
You will require to install MageDelight Base Extension first. If it is not installed then please download it from https://www.magedelight.com/pub/extensions/magedelight-base.zip and unzip the package file into the root folder of your Magento 2 installation.
Root Directory is - "app/code/magedelight/#YourExtensionName#"
- Unzip the extension package file into the root folder of your Magento 2 installation.
- Connect to SSH console of your server:
- Navigate to the root folder of your Magento 2 setup
Run command as per below sequence,
php bin/magento setup:upgrade
php bin/magento setup:di:compile
php bin/magento setup:static-content:deploy
php bin/magento cache:clean
- log out from the backend and log in again
If you are using Magento 2.3 or later then you do not need to activate license. Extension will be activated with silent activation mechanism and does not require activation keys to be entered manually.
Installation with Composer
Composer repository using this command:
composer config repositories.magedelight-repo composer https://packages.magedelight.com/
Replace repo public key and private key with your public and private key
composer config http-basic.gitlab.magedelight.com $PUBLIC_KEY $PRIVATE_KEY
composer require mage_delight/cmsimportexport:*
To obtain your public and private keys, please navigate to the "My Account" section. In the "Download Extension Packages" tab, you will find the keys available for your access.
Backend Configuration (Admin side)
CMS Configurations >> General Configurations
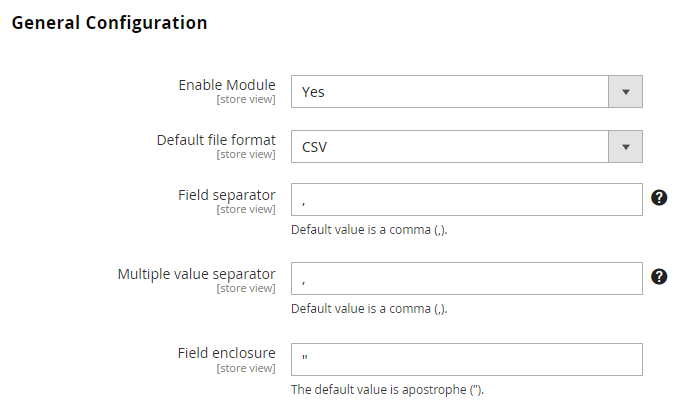
- Enable Module: Select Yes to enable module.
- Default Format: Select your default export format either CSV or XML.
- Field Separator: Select Field Separator for CSV file format.
- Multiple Value Separator: Select Value Separator for CSV file format.
- Field enclosure: Select field enclosure for CSV file format.
Backend Functionality
CMS Configurations >> Export >> Pages
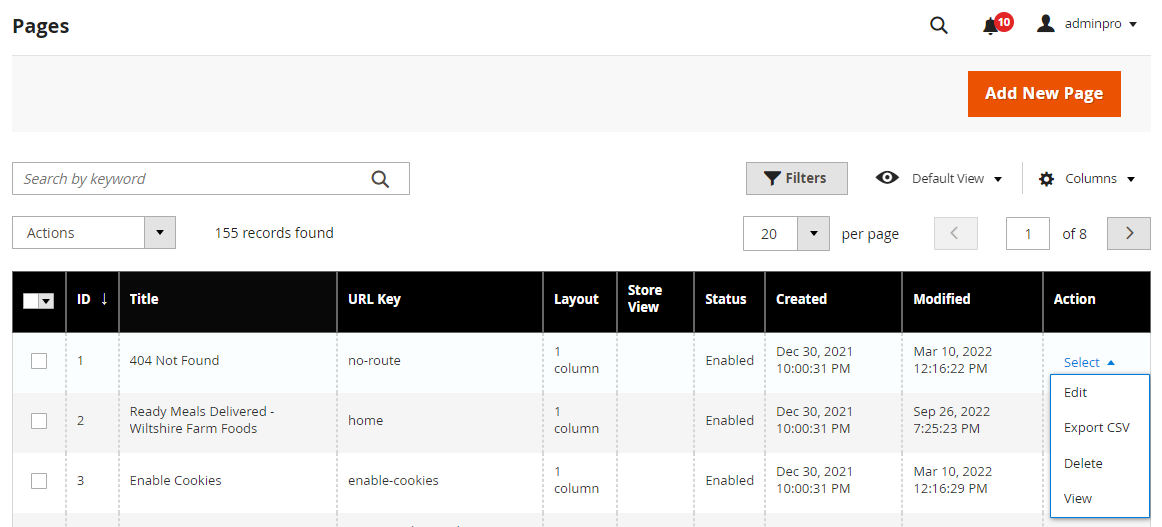
- Choose the page you want to export and then hit the action button. The default file type and a button to change it will be displayed. Depending on the settings in the administration panel, it can be either a CSV file or an XML file.
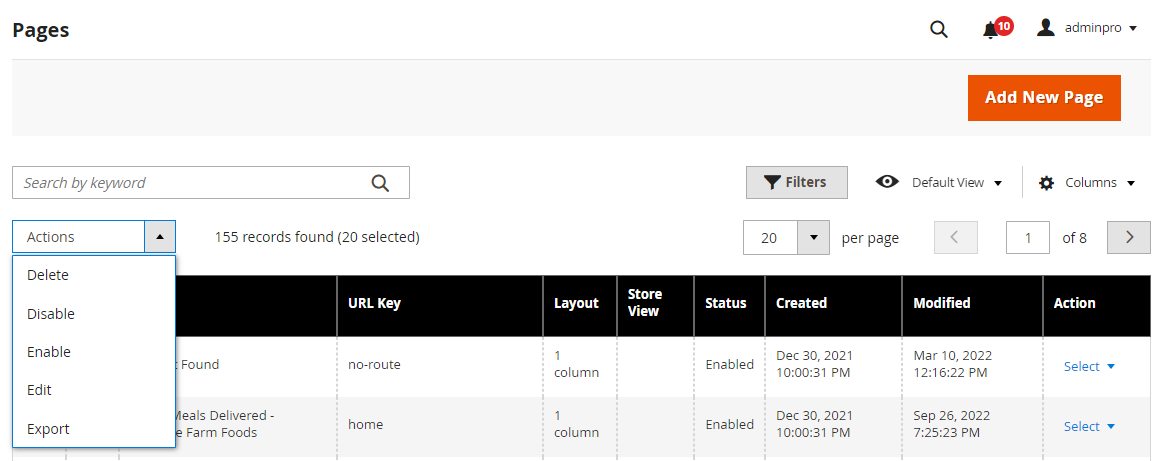
- To export many pages at once, you must first choose the pages you want to export, then navigate to the bulk actions menu, and last click the export option.
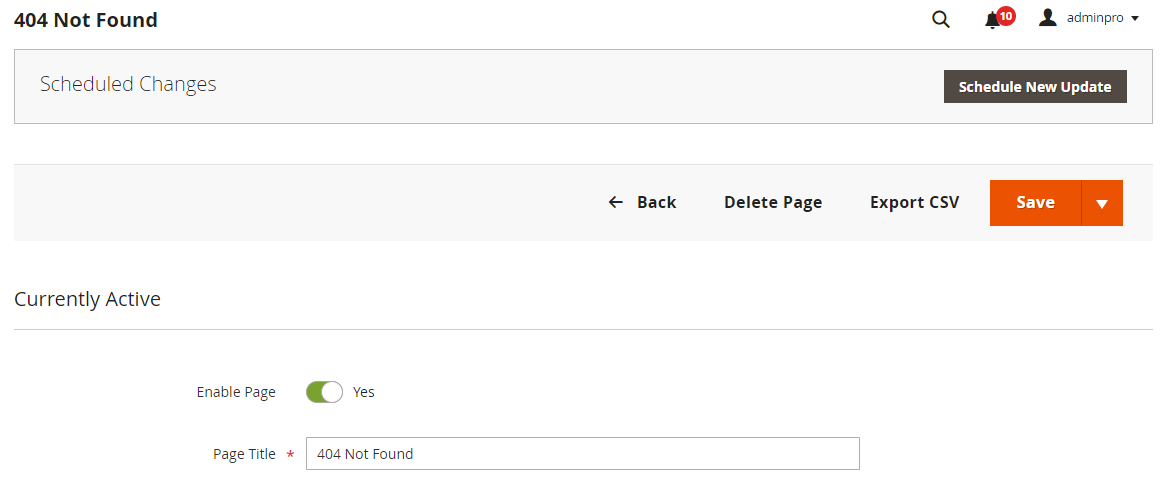
- The Export button is located in the top action bar of the Page Edit section, where a single page can be exported. The default file type will be displayed, along with a button to alter it if desired. It could be a comma-separated values (CSV) file, an xml file, or both, depending on the settings in the administrative panel.
CMS Configurations >> Export >> Blocks
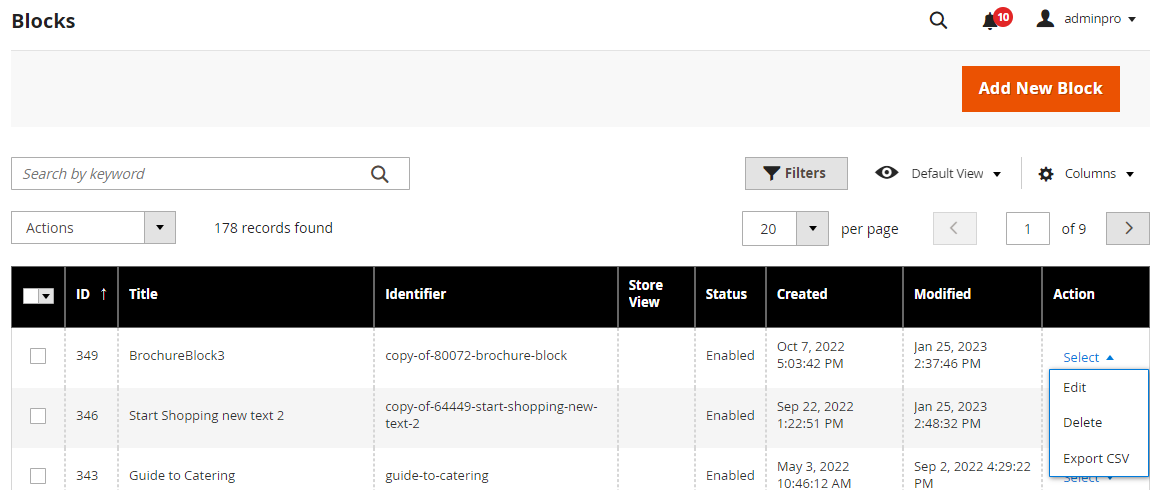
- Choose the block you want to export and then hit the action button. The default file type and a button to change it will be displayed. Depending on the settings in the administration panel, it can be either a CSV file or an XML file.
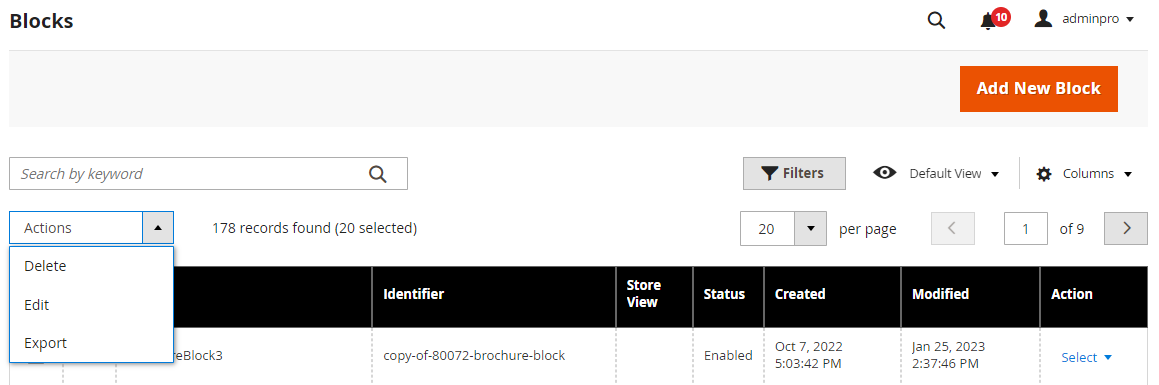
- To export many block at once, you must first choose the blocks you want to export, then navigate to the bulk actions menu, and last click the export option.

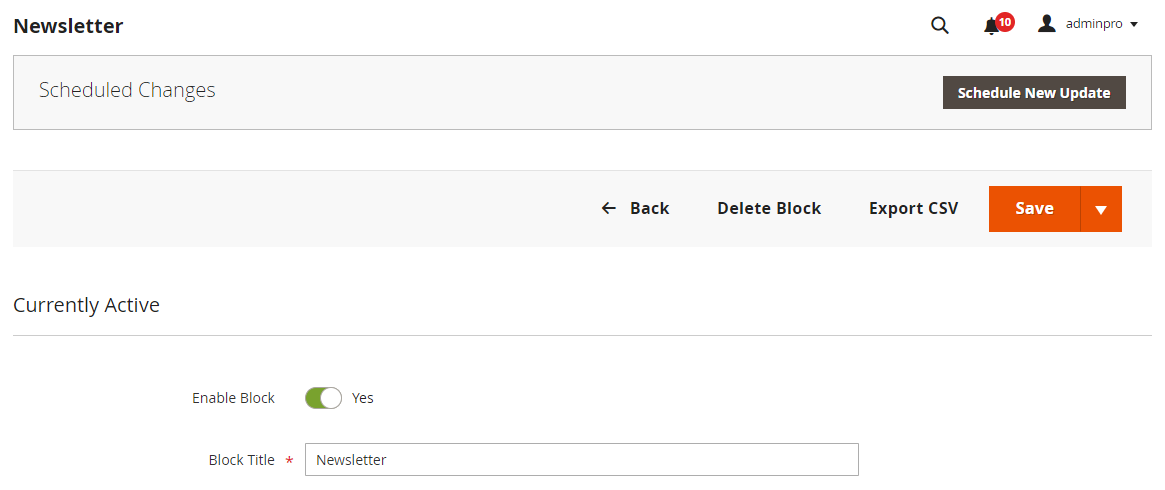
- The Export button is located in the top action bar of the Block Edit section, where a single block can be exported. The default file type will be displayed, along with a button to alter it if desired. It could be a comma-separated values (CSV) file, an xml file, or both, depending on the settings in the administrative panel.
CMS Configurations >> Export >> Widgets
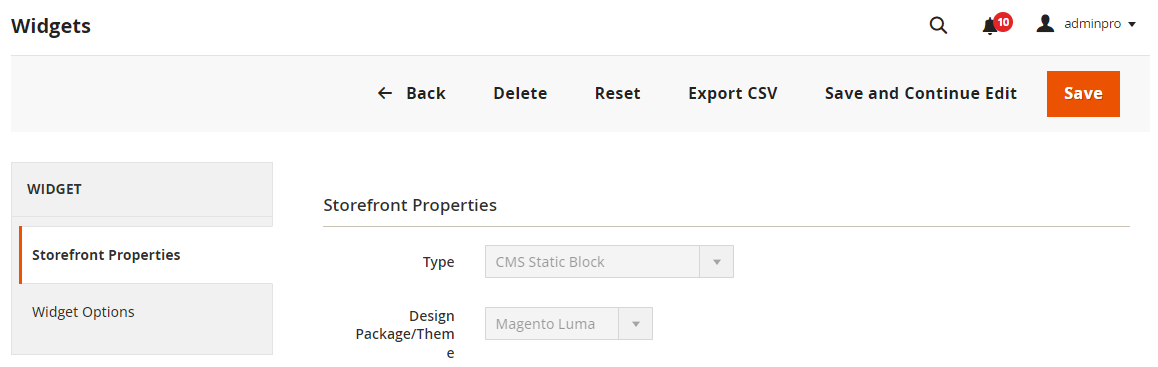
- The Export button is located in the top action bar of the widget Edit section, where a single widget can be exported. The default file type will be displayed, along with a button to alter it if desired. It could be a comma-separated values (CSV) file, an xml file, or both, depending on the settings in the administrative panel.
CMS Configurations >> Import >> Pages
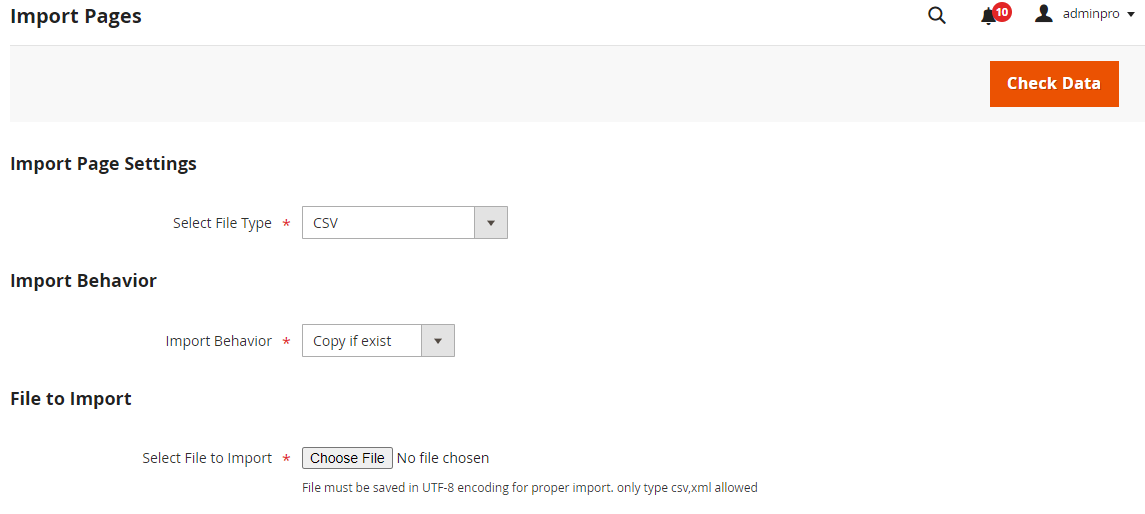
- When using a supported file format, a page can be imported using the "CMS Import Export >> Import >> Pages" menu option (CSV or XML). Please find supported configurations below,
- Import Page Settings:
- CSV: Select your file type with "CSV" to start import process.
- XML: Select your file type with "XML" to start import process.
- Import Behavior:
- Copy if exist: If another file with the same identifier already exists in the database, this import behavior for files will copy that file. This will generate another file with the prefix "copy-of-" added to it, as well as produce a new file.
- Skip if exist: The behavior of this file import will skip the file if another file with the same identifier already exists in the database. Nothing will be done with that file as a result of this action.
- Replace if exist: If a file with the same identification is already present in the database, the behavior of this file import will replace that file. The contents of the new file will be replaced with those of an existing file that has a matched identifier.
- File to Import: After the file has been uploaded, select the "Check Data" button from the top action bar. It will check that the data and file format are valid before importing them. If there are any errors, they will be displayed; otherwise, the "Import" button will be displayed so that the actual import can be processed.
- Import Page Settings:
CMS Configurations >> Import >> Blocks

- When using a supported file format, a block can be imported using the "CMS Import Export >> Import >> Blocks" menu option (CSV or XML). Please find supported configurations below,
- Import Block Settings:
- CSV: Select your file type with "CSV" to start import process.
- XML: Select your file type with "XML" to start import process.
- Import Behavior:
- Copy if exist: If another file with the same identifier already exists in the database, this import behavior for files will copy that file. This will generate another file with the prefix "copy-of-" added to it, as well as produce a new file.
- Skip if exist: The behavior of this file import will skip the file if another file with the same identifier already exists in the database. Nothing will be done with that file as a result of this action.
- Replace if exist: If a file with the same identification is already present in the database, the behavior of this file import will replace that file. The contents of the new file will be replaced with those of an existing file that has a matched identifier.
- File to Import: After the file has been uploaded, select the "Check Data" button from the top action bar. It will check that the data and file format are valid before importing them. If there are any errors, they will be displayed; otherwise, the "Import" button will be displayed so that the actual import can be processed.
- Import Block Settings:
CMS Configurations >> Import >> Widgets
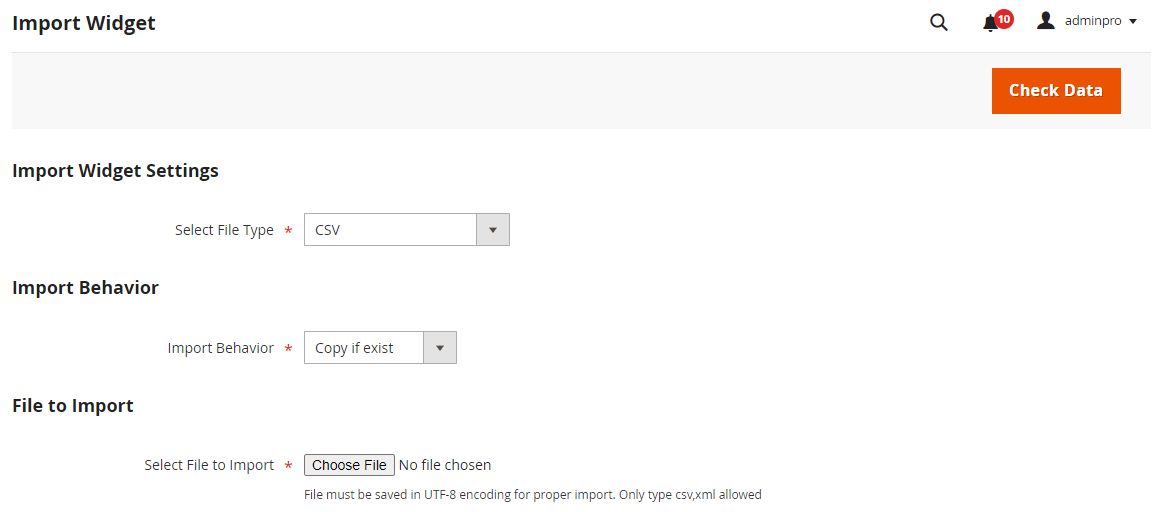
- When using a supported file format, a widget can be imported using the "CMS Import Export >> Import >> Widgets" menu option (CSV or XML). Please find supported configurations below,
- Import Widget Settings:
- CSV: Select your file type with "CSV" to start import process.
- XML: Select your file type with "XML" to start import process.
- Import Behavior:
- Copy if exist: If another file with the same identifier already exists in the database, this import behavior for files will copy that file. This will generate another file with the prefix "copy-of-" added to it, as well as produce a new file.
- Skip if exist: The behavior of this file import will skip the file if another file with the same identifier already exists in the database. Nothing will be done with that file as a result of this action.
- Replace if exist: If a file with the same identification is already present in the database, the behavior of this file import will replace that file. The contents of the new file will be replaced with those of an existing file that has a matched identifier.
- File to Import: After the file has been uploaded, select the "Check Data" button from the top action bar. It will check that the data and file format are valid before importing them. If there are any errors, they will be displayed; otherwise, the "Import" button will be displayed so that the actual import can be processed.
- Import Widget Settings:
Purchase
Click here to purchase from MageDelight.
Click here to purchase from Magento Marketplace. (Composer installation supported)
Thank you for choosing MageDelight!