Installation
Before installing the extension, please make sure to Backup your web directory and store database
- Unzip the extension package file into the root folder of your Magento 2 installation.
- Connect to SSH console of your server:
- Navigate to the root folder of your Magento 2 setup
Run command as per below sequence,
php -f bin/magento setup:upgrade
php -f bin/magento module:enable Magedelight_Productavailability
php -f bin/magento setup:static-content:deploy
- Flush store cache
- log out from the backend and log in again
License Configuration
License activation is not required for extension purchased from Magento Marketplace.
After successful installation of Delivery Availability Checker extension, you are now required to configure the license key in the admin configuration section. You can set it from:
Step 1: Go to, Admin Control Panel > Stores > Configuration > Magedelight > Delivery Check > License Configuration.
You will find two text boxes asking for Serial Key and Activation Key, which you received on email upon the purchase of extension. See screenshot below:
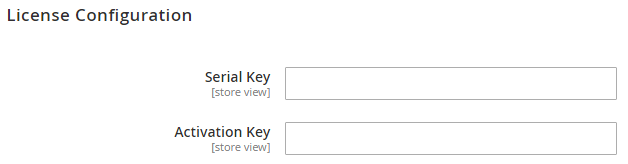
- Serial Key: Enter Serial Key
- Activation Key: Enter Activation Key
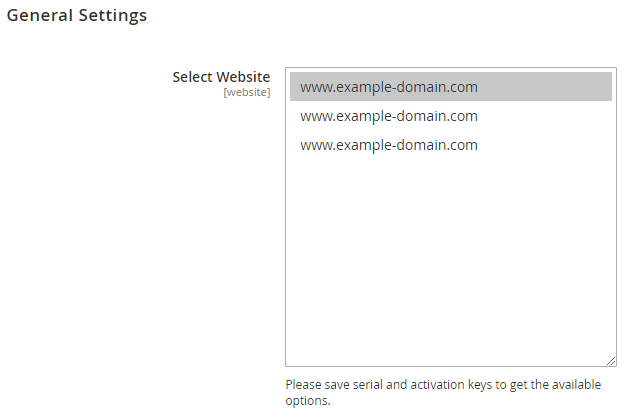
Step 2: Expand “General Configuration” tab, you will find a list of domains for which license is purchased and configured, now select the domain you are going to use, you can select multiple domains by clicking “Ctrl + Select”.
Step 3: Now, select “Yes” from “Enable Module” to enable extension and again click on “Save Config” button on the top right.

Backend Configuration (Admin side)

- Enable Module: Select “Yes” from Enable Module to enable extension
- Shipping Unavailability Message: Specify message to be displayed when shipping is unavailable
- Estimated Delivery Message: Specify message to be displayed when shipping is available
- COD Availability Message: Specify message to be displayed if COD is available
- COD Unavailability Message: Specify message to be displayed when COD is unavailable
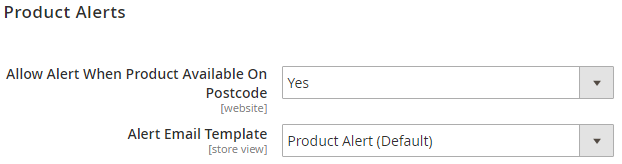
- Allow Alert When Product Available On Postcode: Specify “Yes” to allow to send alert when product is available for said postal code.
- Alert Email Template: Specify email template to be sent to user for the alert messages
Backend Functionality
Delivery Check > Postcode > Manage Postcode
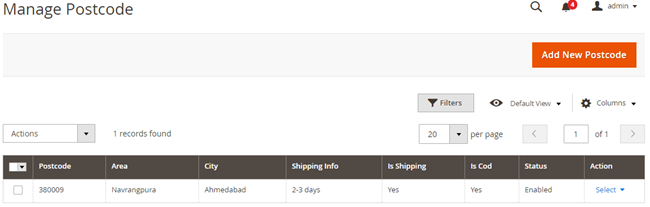
Here, you can see list of previously added Post/Zip codes.
Action – from Action you can select single Zip code for edit or delete the same.
Bulk Actions – From top, you can also delete Post/Zip code in bulk.
Filter – Filter is available to search Zip code with advance options
Add Postal code

This form will be used to add new postal/zip code. You will need to fill below details, (*, represents mandatory fields)
- Post/Zip Code: Enter Post/Zip code for which you want to allow shipping or COD
- Area: Enter Area for Post/Zip code
- City: Enter City name for Post/Zip code
- Shipping Info: Enter Shipping Info/shipping duration for Post/Zip code
- Is Shipping: Specify “Yes”, if shipping is available
- Is COD: Specify “Yes”, if COD (Cash on Delivery) is available
- Status: Specify “Yes”, if Post/Zip code is enabled
Import Postal Code

Import Settings
- Entity Type: Select “Import Postcode”
- Download sample file: You can download sample file for specific format
- Import Behavior:
- Add/Update: Specify to add or update records
- Replace: Specify to replace existing records
- Delete: Specify to delete existing records
Error Behavior:
- Stop on Error: Specify if you want to stop import while error occurs
- Skip on Error: Specify if you want to skip record while error occurs
- Allowed Errors Count: Specify number of error count to halt import process
- Field separator: Specify field separator sign
- Multiple value separator: Specify separator sign to separate multiple values
- Fields enclosure: Check if you require field enclosure

File to Import
- Select File to Import: Select file to be imported (.csv)
- Images File Directory: Specify directory to be used to store images
Reports
Postcode search count
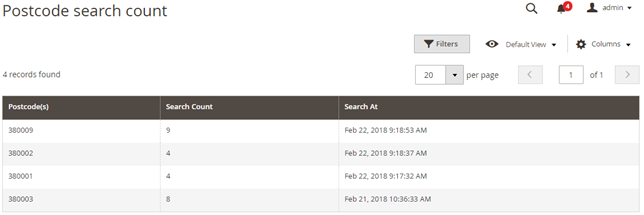
This report will provide number of count for individual postal codes.
Product wise postcode search count
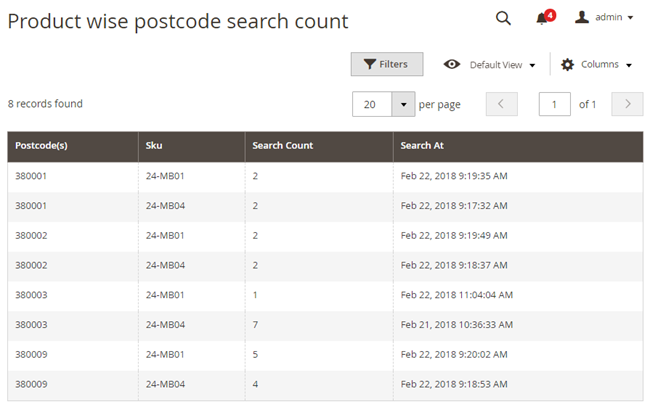
This report will show product wise postal code search.
Postcode search count for unavailable products
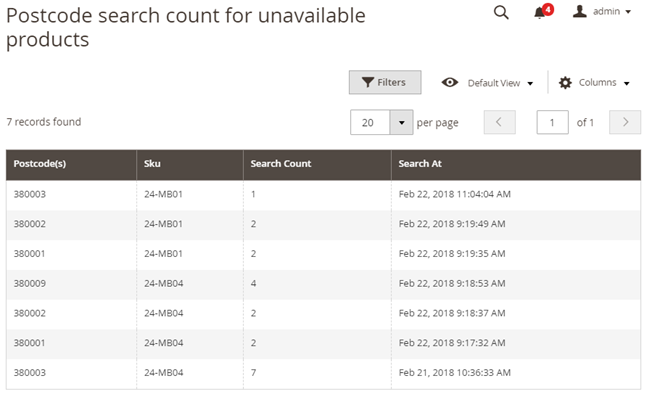
This report will show postal code search count for unavailable products.
Frontend Functionality
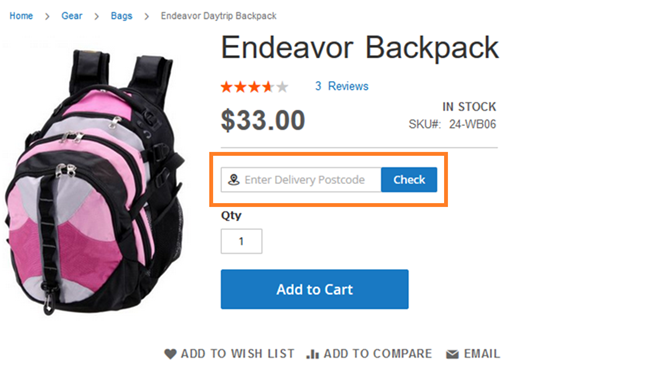
User is able to check for delivery availability by entering postal code/zip code in below text box and click on “Check” button.
Demo
Click here to visit product detail page.
Click here to visit frontend.
Click here to visit backend admin panel.
Thank you for choosing MageDelight!