
Installation
Before installing the extension, please make sure to Backup your web directory and store database
- Unzip the extension package file into the root folder of your Magento 2 installation.
- Connect to SSH console of your server:
- Navigate to the root folder of your Magento 2 setup
Run command as per below sequence,
php-f bin/magentomodule:enable Magedelight_Megamenu
php-f bin/magentosetup:upgrade
php -f bin/magento setup:static-content:deploy
- Flush store cache
- log out from the backend and log in again
License Configuration
License activation is not required for extension purchased from Magento Marketplace.
After successful installation of Mega Menu extension, you are now required to configure the license key in the admin configuration section. You can set it from:
Step 1: Go to, Admin Control Panel > Stores > Configuration > Magedelight > Mega Menu > License Configuration.
You will find two text boxes asking for Serial Key and Activation Key, which you received on email upon the purchase of extension. See screenshot below:
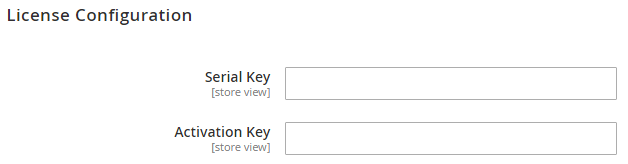
- Serial Key: Enter Serial Key
- Activation Key: Enter Activation Key
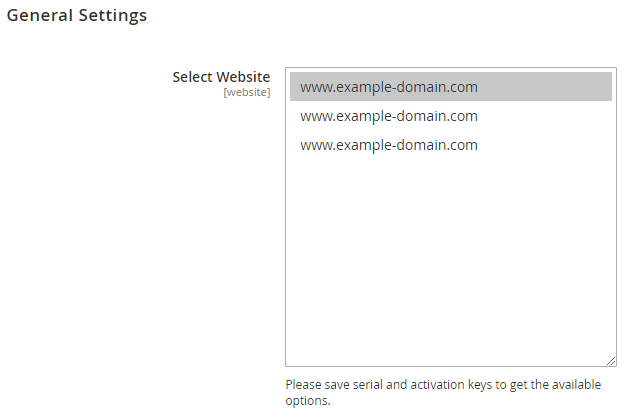
Step 2: Expand “General Configuration” tab, you will find a list of domains for which license is purchased and configured, now select the domain you are going to use, you can select multiple domains by clicking “Ctrl + Select”.
Step 3: Now, select “Yes” from “Enable Module” to enable extension and again click on “Save Config” button on the top right.

Backend Configuration (Admin side)

- Enable Mega menu: Enable/disable the mega menu extension.
- Select Primary Menu: Selected primary menu would get displayed at the place of default menu of Magento store (this will override the default menu).
- Animation Time: Enter time in seconds for all animation type selected for each mega menu.
Enable Logs: Logs keep details of errors (if anything goes wrong while creating menu or menu items then details of error would be displayed under logs).
Logs is meant for developers only.
Backend Functionality
Manage Mega menu
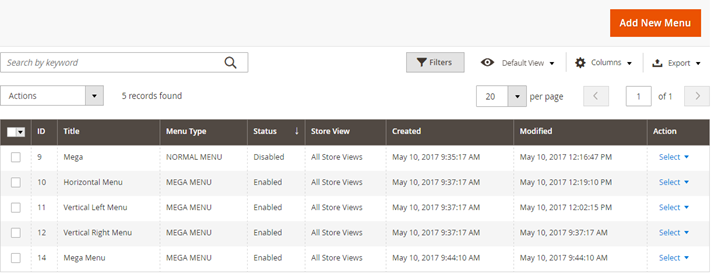
In Magento admin, Select Mega menu tab (from side panel) which will display all the menus created from Mega menu extension.
- Title: Name of the menu.
- Menu Type: There are two types of menu.
- Mega menu
- Normal menu
- Status: Status for a particular menu. Only enabled menu will be shown in the frontend.
- Store View: Store view shows the stores selected for a particular menu. Means that menu will only be visible in the store for which it is selected.
- Created: Displays the date when menu is created.
- Modified: Displays the date when menu is modified.
Create New Menu
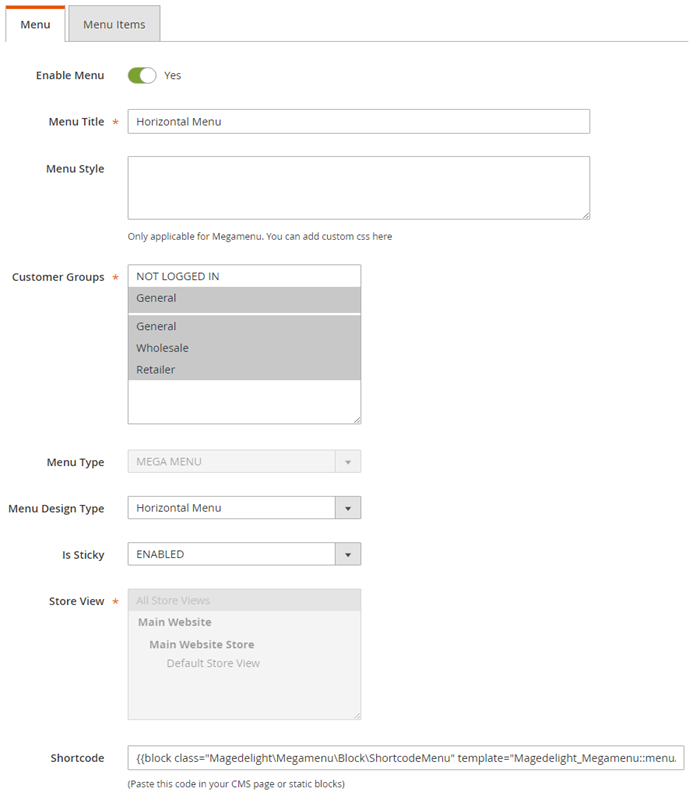
- Enable Menu: Enable/disable the menu.
- Menu Title: Set the menu title.
- Menu Style: This is a text area field which saves the in page CSS. It will be applicable only to Mega menu type menu. This is very useful if someone wants modification in mega menu style without editing any core files.
- Customer Groups: Allow selected customer groups to access the mega menu.
- Menu Type: There are two types of menu.
- Mega menu (has various configuration options)
- Normal menu (is similar to default Magento menu)
- Menu Design Type: Select design type from available options.
- Horizontal Menu
- Vertical Left
- Vertical Right
- Drilldown (each menu item can be expanded and collapsed)
- Is Sticky: Enable to scroll down menu with page scroll.
- Store View: Multiple stores can be selected from here. The menu will be displayed in that particular menu. If default is selected the menu can be displayed in all the stores.
Shortcode: Value of the field would get generated automatically on saving the menu. Place the generated code in CMS page or static block to display created menu.
Except primary menu, shortcode is required for all menus to get displayed on the frontend. Hence, copy and paste the shortcode of desired menu in the CMS page or static blocks where you want to display the menu.
Menu Item
After saving menu, one more tab (“Menu Item”) will be displayed beside “Menu” which is used to create Menu items. Menu items can be created in 4 different ways.
Mega Menu Block: When we add menu items in mega menu block and click on add to menu, it creates a menu item as shown below. This option will be only enabled when current menu type is mega menu.
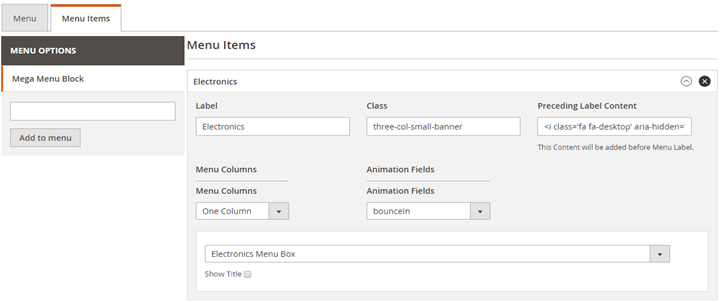
The options specified in menu block are as follows.
- Label: It displays label name for menu item.
- Class: Add multiple classes to menu items on front end.
- Preceding Label Content: This option is used to add content before menu item on frontend. This is basically used to add font awesome icons. We can add font awesome icon code here.
- Menu Columns: There are maximum 5 columns supported now which is used to create columns from menu items for mega menu.
- Multiple Columns: These columns are created by Menu columns selected no. This contains static blocks and normal menus. When we select any static block from the column that static block will get rendered on the frontend for the menu and same thing happens for normal menus.
- Show Title: This option enables us to show hide title of normal menu (selected as menu items) on the frontend.
- Category Block
- Page selection
- External Links
Frontend Functionality
Demo
Click here to visit product detail page.
Click here to visit frontend.
Click here to visit backend admin panel.
FAQs
Thank you for choosing MageDelight!