![]()
Installation
Before installing the extension, please make sure to Backup your web directory and store database
You will require to install MageDelight Base Extension first. If it is not installed then please download it from https://www.magedelight.com/pub/extensions/magedelight-base.zip and unzip the package file into the root folder of your Magento 2 installation.
Root Directory is - "app/code/magedelight/#YourExtensionName#"
- Unzip the extension package file into the root folder of your Magento 2 installation.
- Connect to SSH console of your server:
- Navigate to the root folder of your Magento 2 setup
Run command as per below sequence,
php bin/magento setup:upgrade
php bin/magento setup:di:compile
php bin/magento setup:static-content:deploy
php bin/magento cache:clean
- log out from the backend and log in again
If you are using Magento 2.3 or later then you do not need to activate license. Extension will be activated with silent activation mechanism and does not require activation keys to be entered manually.
License Configuration
License activation is not required for extension purchased from Magento Marketplace.
After successful installation of Abandoned Cart extension, you are now required to configure the license key in the admin configuration section. You can set it from:
Step 1: Go to, Admin Control Panel > Stores > Configuration > Magedelight > Abandoned Cart > License Configuration.
You will find two text boxes asking for Serial Key and Activation Key, which you received on email upon the purchase of extension. See screenshot below:
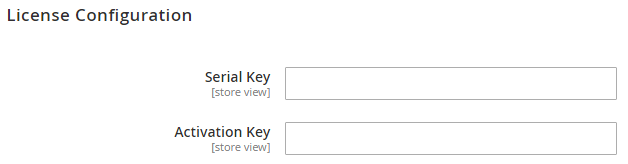
- Serial Key: Enter Serial Key
- Activation Key: Enter Activation Key
Step 2: Expand “General Configuration” tab, you will find a list of domains for which license is purchased and configured, now select the domain you are going to use, you can select multiple domains by clicking “Ctrl + Select”.

Step 3: Now, select “Yes” from “Enable Module” to enable extension and again click on “Save Config” button on the top right.

Backend Configuration (Admin side)

- Send Email to Guest Customers: Select "Yes", if you want to send email to guest user
- Stop After Visiting Cart: Select "Yes" if you want to stop sending email once user visits cart
- Set Time After Cart Will Consider as Abandoned: Specify time to set cart as abandoned. i.e. after 30 minutes cart will be considered as Abandoned
- Remove History?: Set "Yes" if you want to remove abandoned cart history which are older than 2 months
- Abandoned Cart Email Sender: Select sender email to send email
- Send Email Copy to: Specify email to send copy of email (CC)
- Product Image Height in Mails (in px): Specify height in pixel to set product image in email
- Product Image Width in Mails (in px): Specify width in pixel to set product image in email
- Add Unsubscribe Link to Emails?: Select "Yes" to to send link to unsubscribe emails

- Enable Test Mode: Specify "Yes" to enable test mail else specify "No" for production mode
- Test Email Recipient: Specify email address to receive test email
Backend Functionality
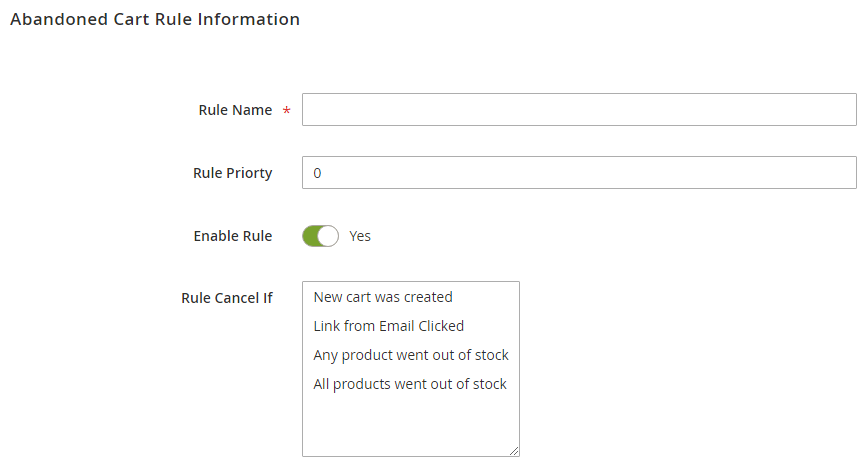
Abandoned Cart Rules
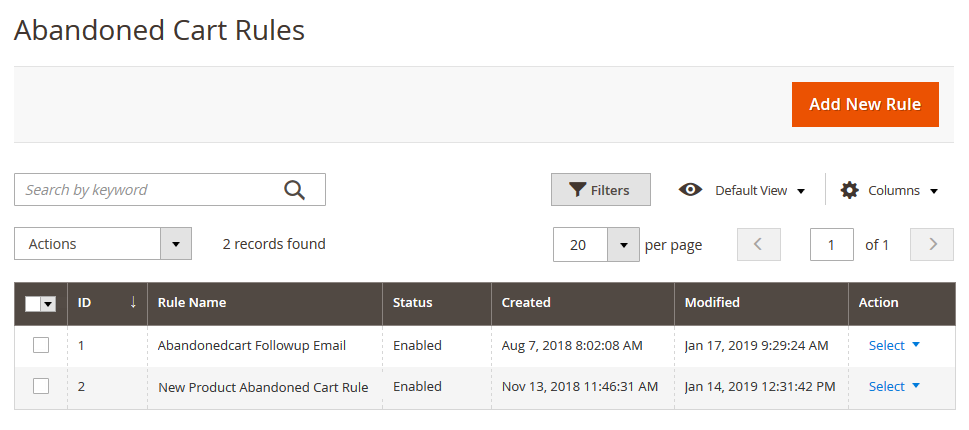
- Add New Rule: Add new rule for abandoned cart by clicking on "Add New Rule" button.
- View, edit and delete the rule from Abandoned Cart Rule grid.
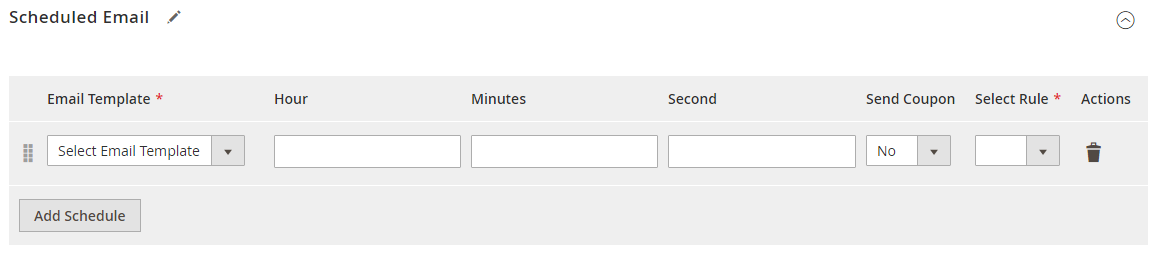
- Email Template: Select email template to send scheduled email
- Hour: Specify hour to schedule email
- Minutes: Specify minute to schedule email
- Seconds: Specify seconds to schedule email
- Send Coupon: Set "Yes" if you want to send coupon with email
- Select Rule: Select rule to apply on scheduled email
- Action Delete: Click on delete button to perform delete action on scheduled email
When there is short time between first email and remainder email then both email will be sent simultaneously at same time which is inappropriate
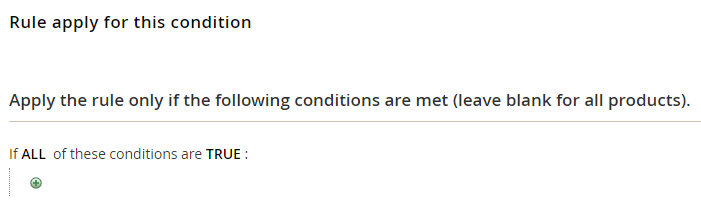
- Apply the rule only if the following set conditions are met (leave blank for all products)
Abandoned Cart Blacklist
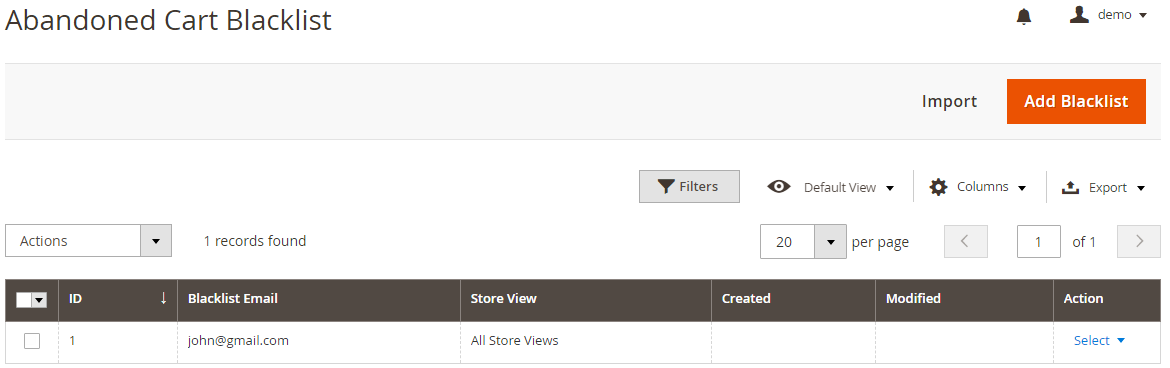
You can see all the emails added as blacklist (not to send email), you have advanced search capabilities and options to edit and delete records

- Blacklist: Specify email address to add to blacklist
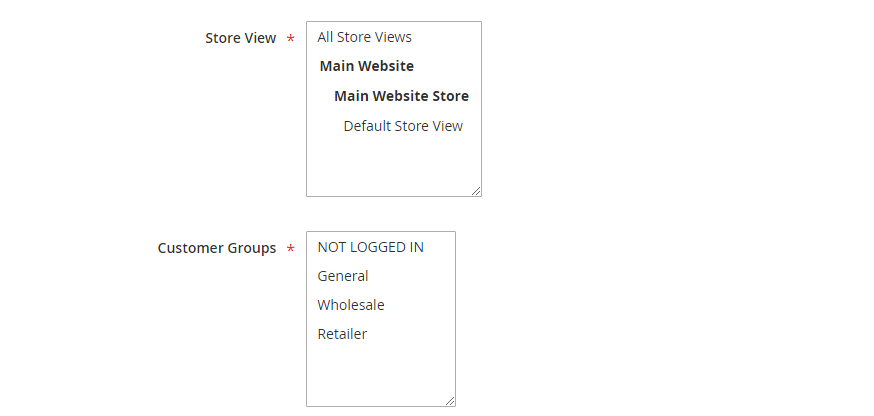
- Store View: Select store view to apply blacklist rule
Abandoned Cart Email Queue
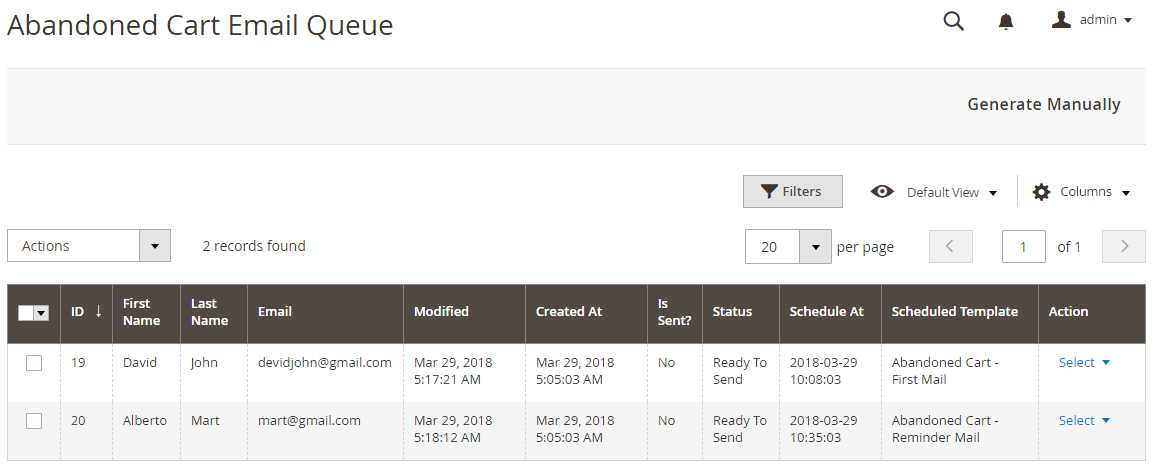
Abandoned Cart History
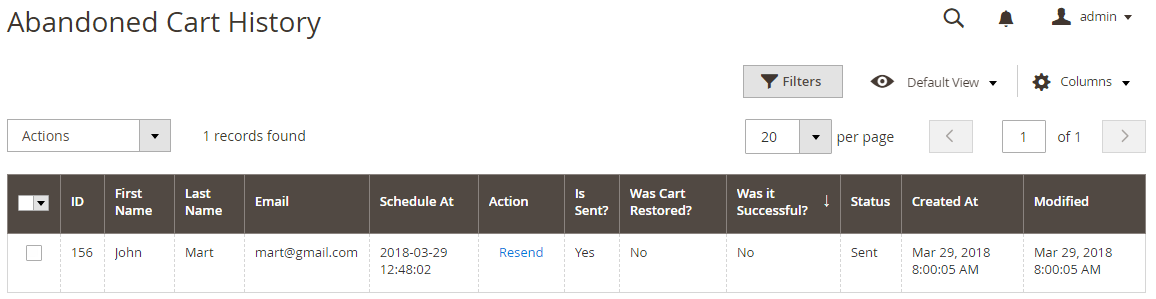
You can see all the emails sent to customers, you have advanced search capabilities and options to resend emails.
Thank you for choosing MageDelight!