Backend Functionality
RMA AttributesResolutions| Panel |
|---|
Admin Control Panel > RMA > RMA Attributes> Resolutions |
| Panel |
|---|
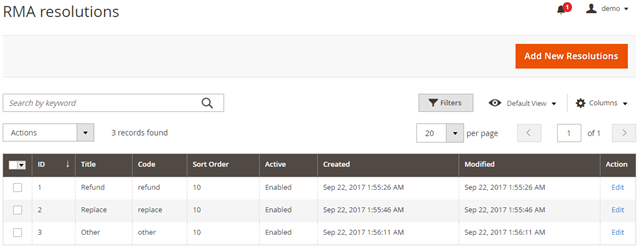 Image Removed Image Removed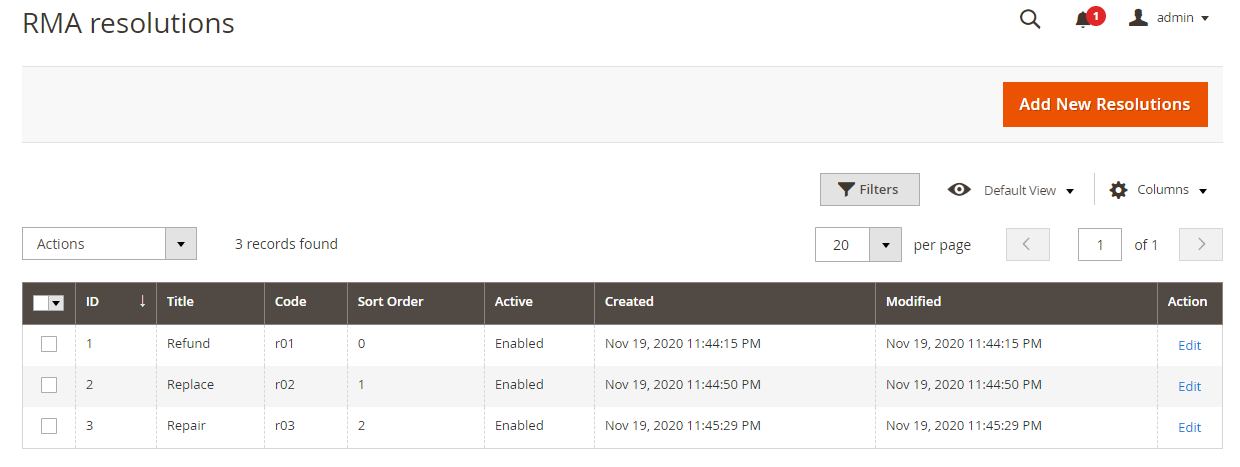 Image Added Image Added
|
- Resolution Status List: You can see previously added resolution status in grid view as above image.
| Panel |
|---|
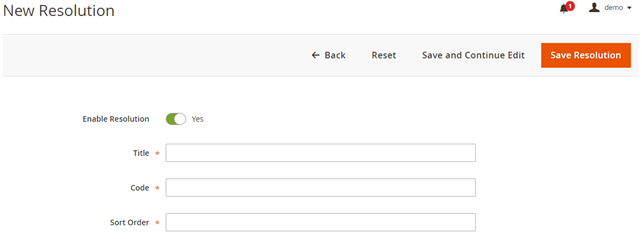 Image Modified Image Modified
|
- Add New Resolutions: You can add new resolution status by clicking on this button.
| Panel |
|---|
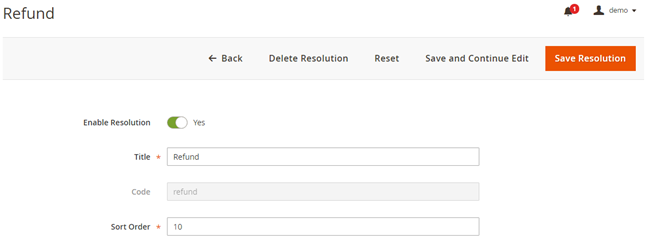 Image Modified Image Modified
|
- Action > Edit: You can edit an existing resolution status from here. You will be redirected to a new page with existing values, Modify values and click on “Save Resolution” on top.
Conditions| Panel |
|---|
Admin Control Panel > RMA > RMA Attributes> Conditions |
| Panel |
|---|
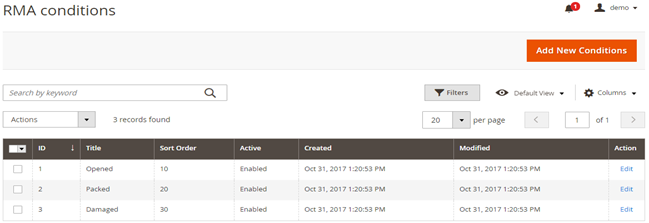 Image Removed Image Removed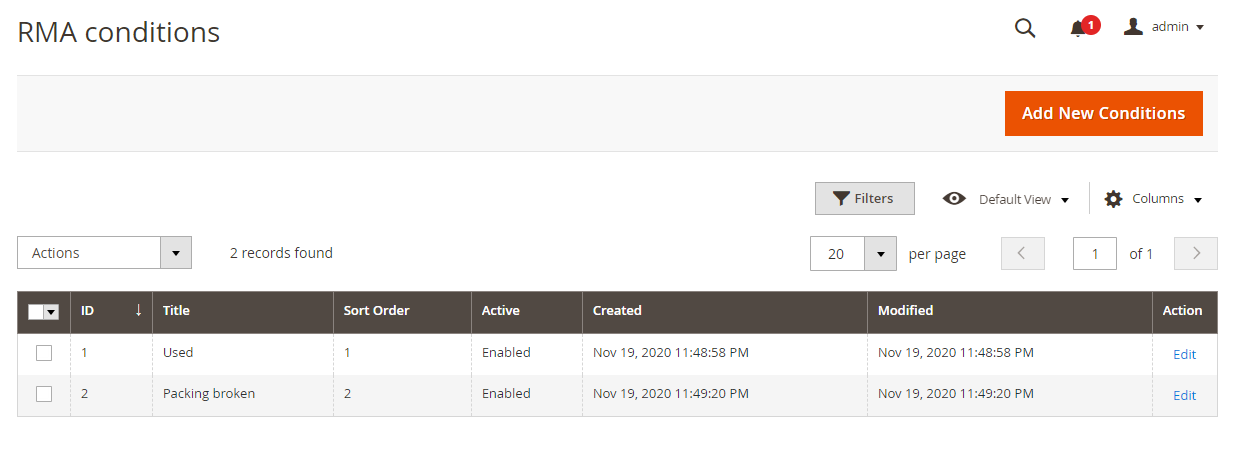 Image Added Image Added
|
- Conditions List: You can see previously added conditions in grid view as above image.
| Panel |
|---|
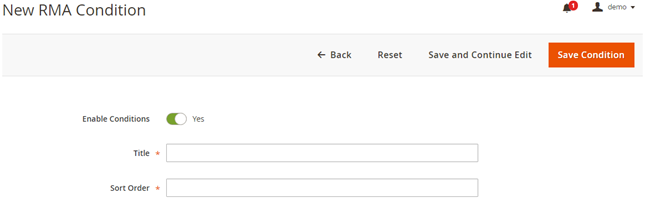 Image Modified Image Modified
|
- Add New Conditions: You can add a new condition by clicking on this button.
| Panel |
|---|
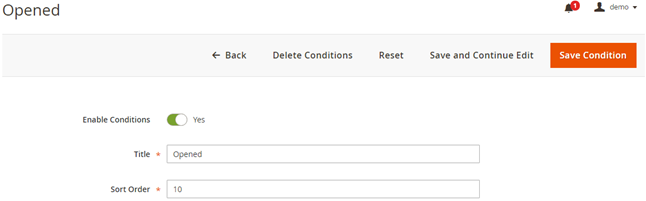 Image Modified Image Modified
|
- Action > Edit: You can edit existing condition from here. You will be redirected to new page with existing values, Modify values and click on “Save Condition” on top.
Statuses| Panel |
|---|
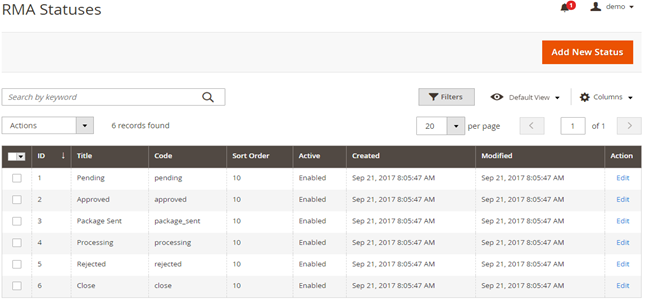 Image Removed Image Removed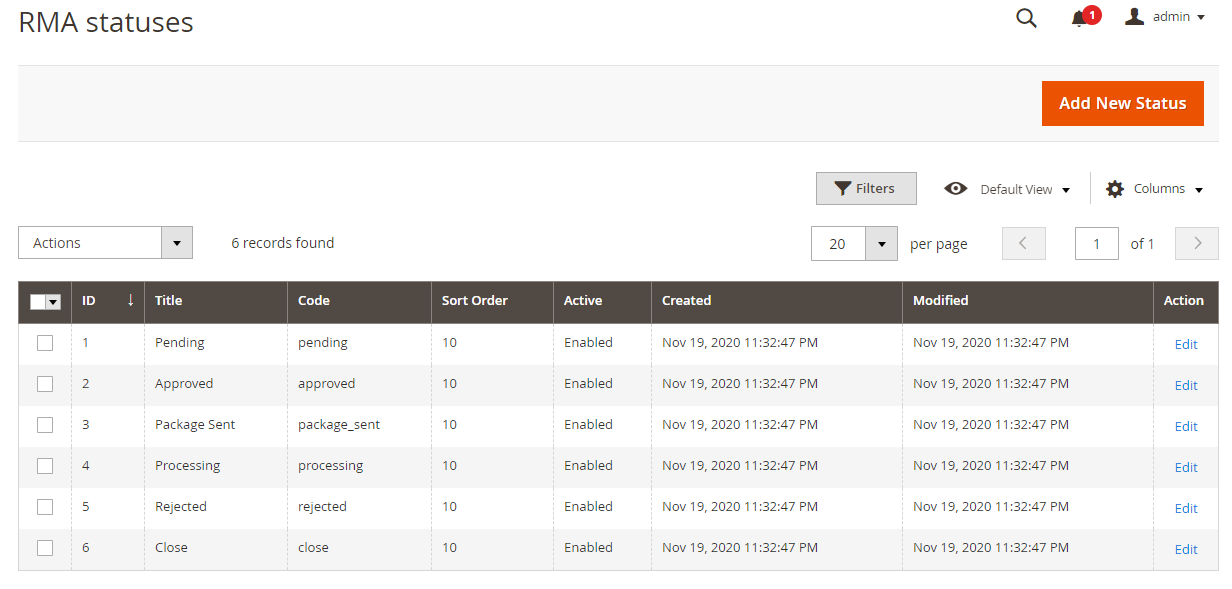 Image Added Image Added
|
- Status List: You can see previously added statuses in grid view as above image.
| Panel |
|---|
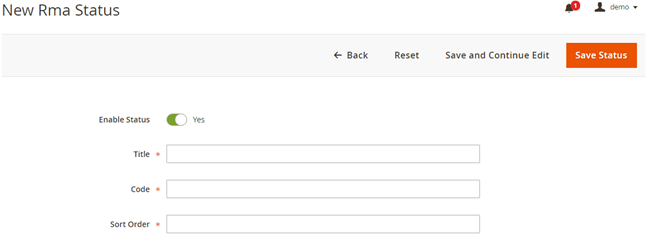 Image Modified Image Modified
|
- Add New Status: You can add new status by clicking on this button.
| Panel |
|---|
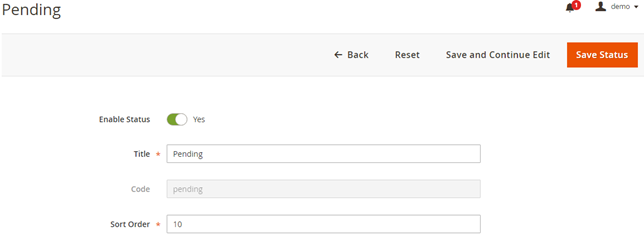 Image Modified Image Modified
|
- Action > Edit: You can edit the existing status from here. You will be redirected to a new page with existing values, Modify values and click on “Save Status” on top.
Reasons| Panel |
|---|
Admin Control Panel > RMA > RMA Attributes> Reasons |
| Panel |
|---|
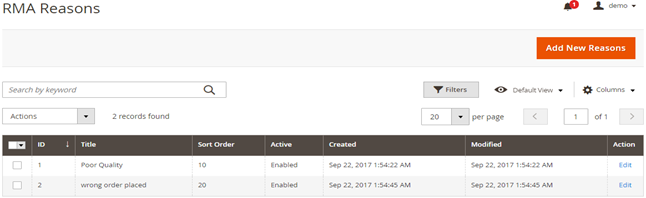 Image Removed Image Removed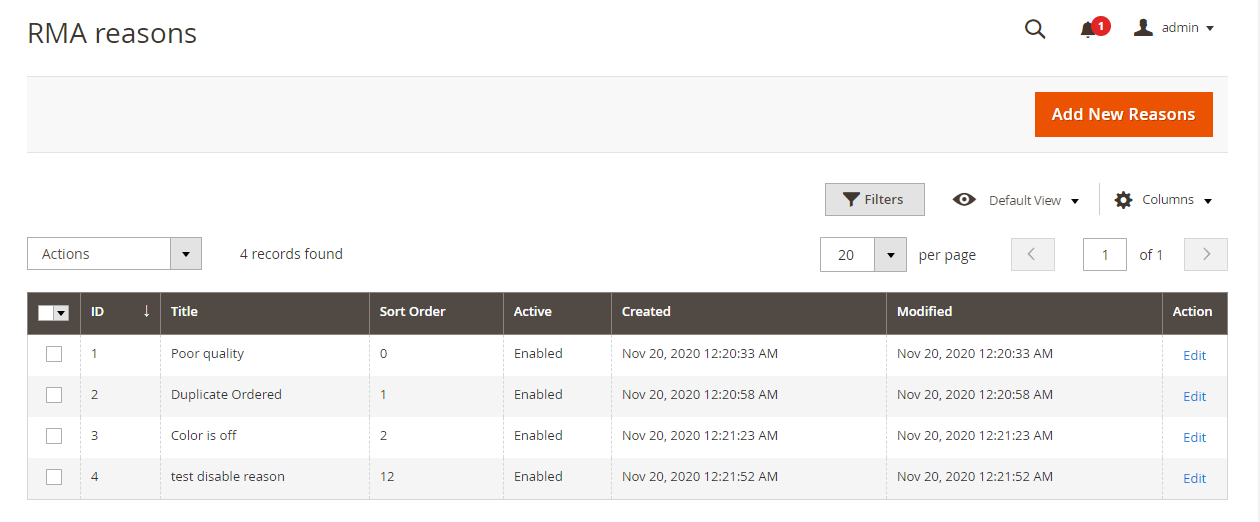 Image Added Image Added
|
- Reason List: You can see previously added reasons in grid view as above image.
| Panel |
|---|

|
- Add New Reason: You can add a new reason by clicking on this button.
| Panel |
|---|
|
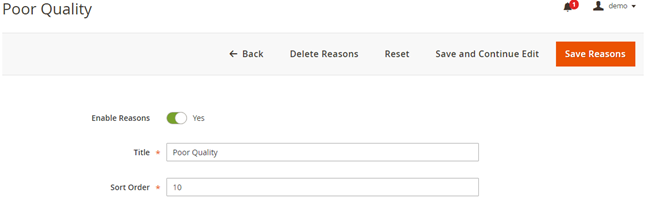
- Action > Edit: You can edit existing reason from here. You will be redirected to new page with existing values, Modify values and click on “Save Reason” on top.
Custom Fields| Panel |
|---|
Admin Control Panel > RMA > RMA Attributes> Custom Fields |
| Panel |
|---|
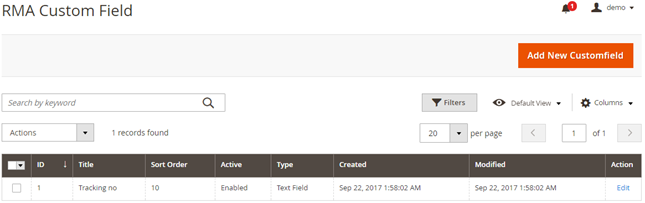 Image Removed Image Removed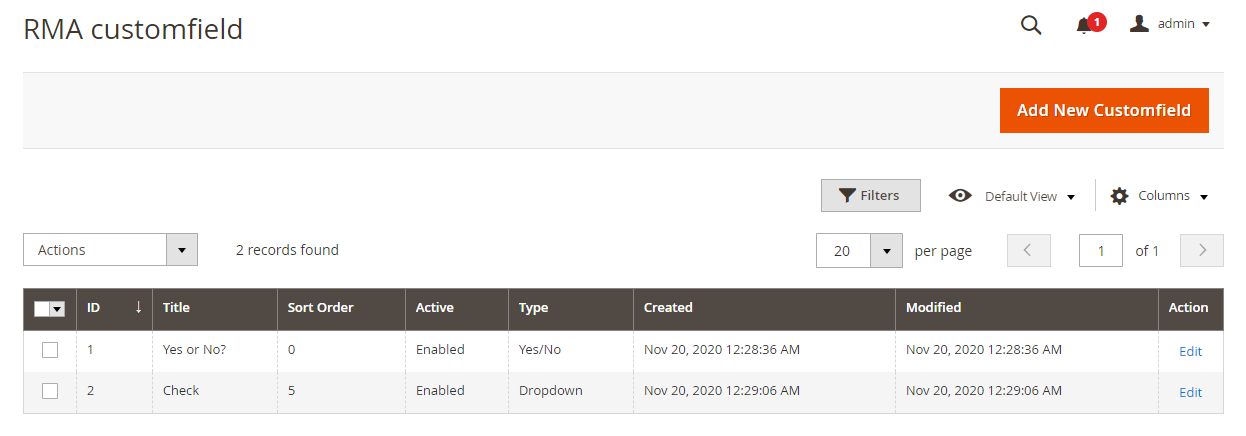 Image Added Image Added
|
- Custom Field List: You can see previously added fields in grid view as above image.
| Panel |
|---|
|
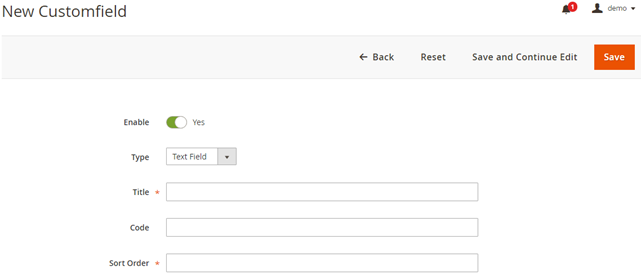
- Add New Field: You can add new fields by clicking on this button.
| Panel |
|---|
|
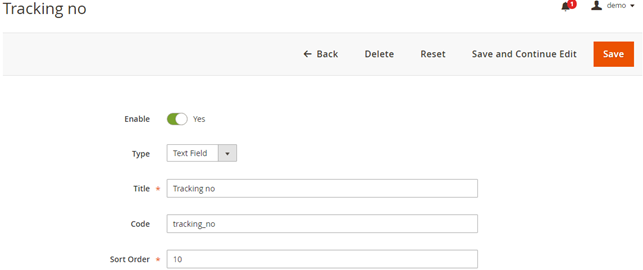
- Action > Edit: You can edit existing fields from here. You will be redirected to new page with existing values, Modify values and click on “Save” on top.
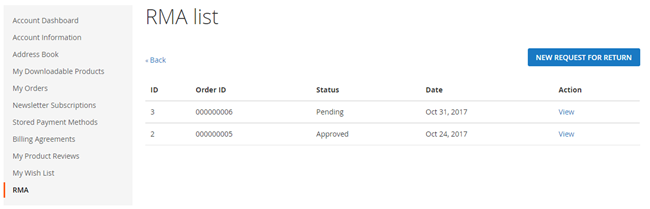
RMA Management| Panel |
|---|
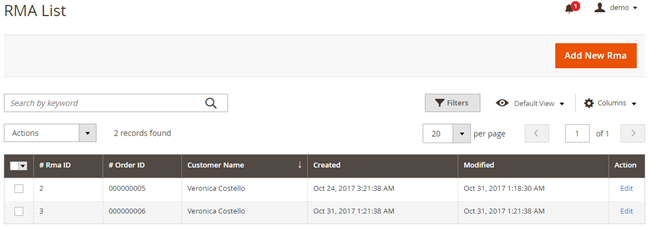
Admin Control Panel > RMA > RMA Management > RMA List |
| Panel |
|---|
|
| Panel |
|---|
|
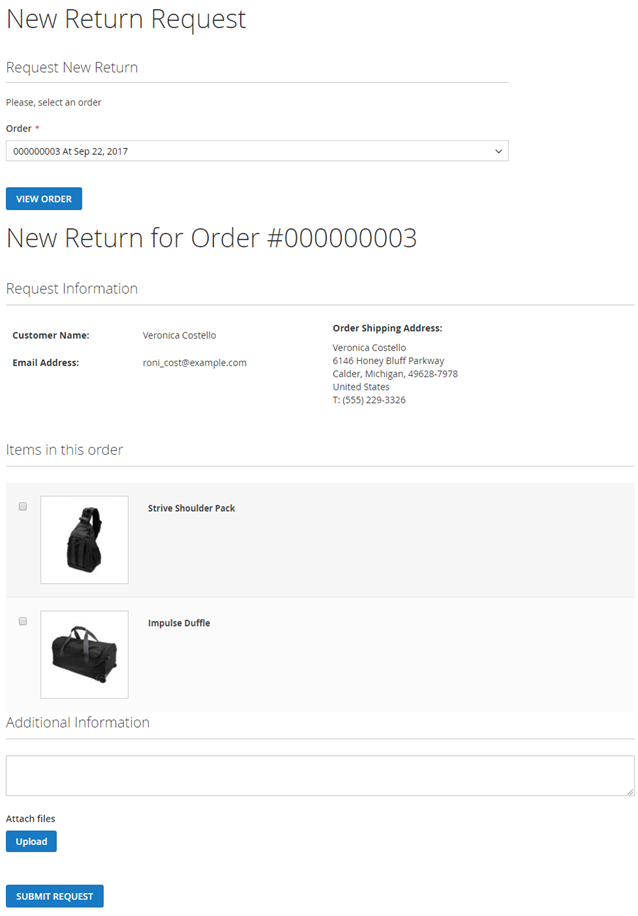
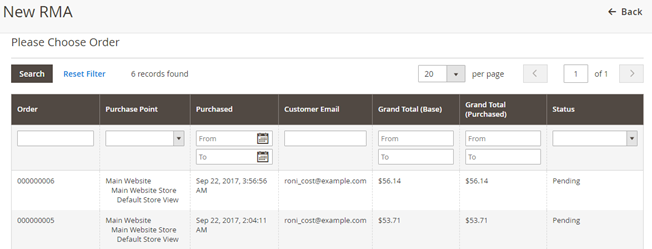
- Add New RMA: To request new return, click on “Add New RMA” button, it will redirect you to below page to choose order from all placed orders.
| Panel |
|---|

|
Once you select the order from above list, it will redirect you to detailed order and the RMA request page as below, | Panel |
|---|
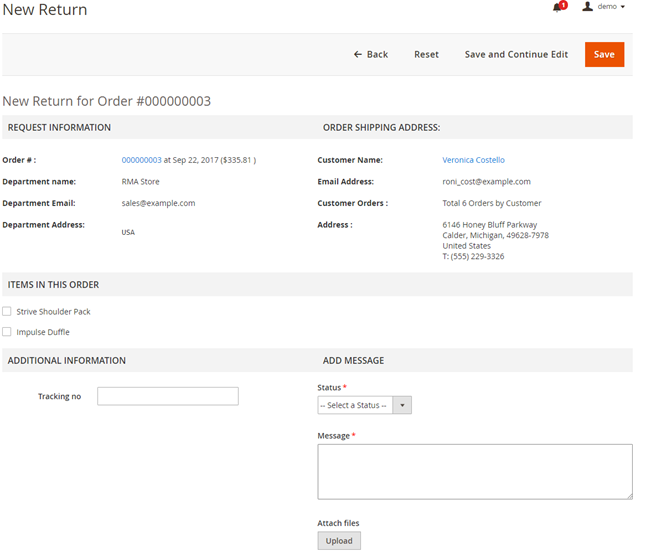
|
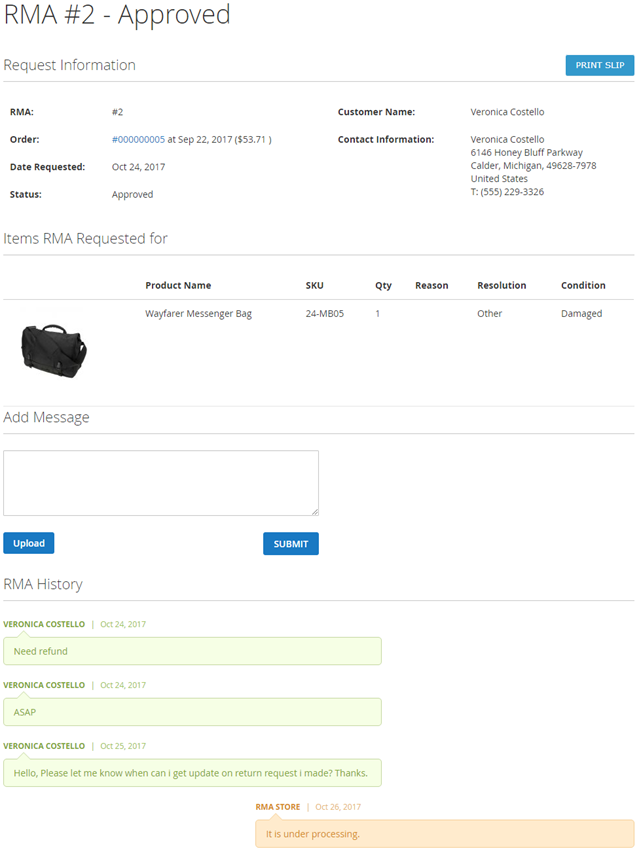
Provide mandatory details and “Save” the request. - Edit RMA: From RMA List, you can edit RMA. The same above page will be shown to you. You can track previous history from “RMA HISTORY” tab at the last on the page.
|