...
| Section | ||||||||
|---|---|---|---|---|---|---|---|---|
Installation
|
| Section |
|---|
| Note |
|---|
License activation is not required for extension purchased from Magento Marketplace. |
After successful installation of RMA extension, you are now required to configure the license key in the admin configuration section. You can set it from:
Step 1: Go to, Admin Control Panel > Stores > Configuration > Magedelight > RMA > License Configuration.
You will find two text boxes asking for Serial Key and Activation Key, which you received on email upon the purchase of extension. See screenshot below:
| Panel |
|---|
|
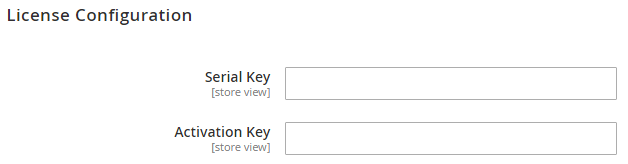
- Serial Key: Enter Serial Key
- Activation Key: Enter Activation Key
Step 2: Expand “General Configuration” tab, you will find a list of domains for which license is purchased and configured, now select the domain you are going to use, you can select multiple domains by clicking “Ctrl + Select”.
| Panel |
|---|
|

Step 3: Now, select “Yes” from “Enable Module” to enable extension and again click on “Save Config” button on the top right.
| Panel |
|---|
|

Backend Configuration (Admin side)
| Panel |
|---|
Admin Control Panel > RMA > Settings > General Configuration |
| Panel |
|---|
|
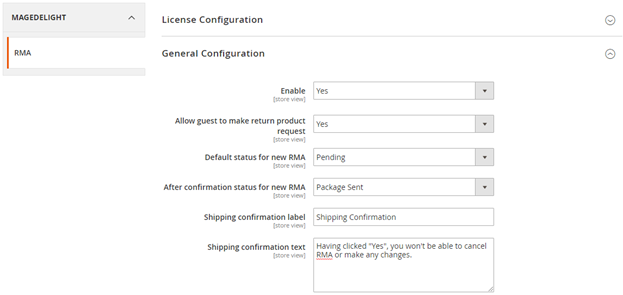
- Enable: To enable/disable RMA feature from here. It has two options, select “Yes” to enable and “No” to disable this feature.
- Allow guest to make a return product request: If you want to allow your guest user to make return product then set as “Yes” else set as “No”.
- Default status for new RMA: You can set default status for your RMA request from here. When user will initiate a return request, this status will be set by default to your return request.
- After confirmation status for new RMA: You can set default status to be set, once buyer’s confirms shipping.
- A Shipping confirmation label: You can set a customized title of “Confirm shipping” pop-up from here. A Pop-up will appear buyer’s side on click of “Confirm Shipping” button.
- Shipping confirmation text: You can set customized description of “Confirm shipping” pop-up from here. Pop-up will appear buyer’s side on click of “Confirm Shipping” button.
| Panel |
|---|
|
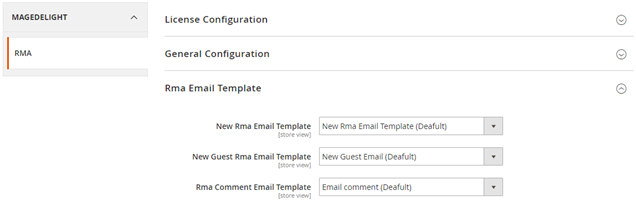
- New RMA Email Template: You can set default email template to send email to registered buyer, when buyer generates a new RMA request.
- New Guest RMA Email Template: You can set default email template to send email to guest buyer, when buyer generates a new RMA request.
- RMA Comment Email Template: You can set default email template to send email to the buyer, when any comments added to RMA request.
| Panel |
|---|
|
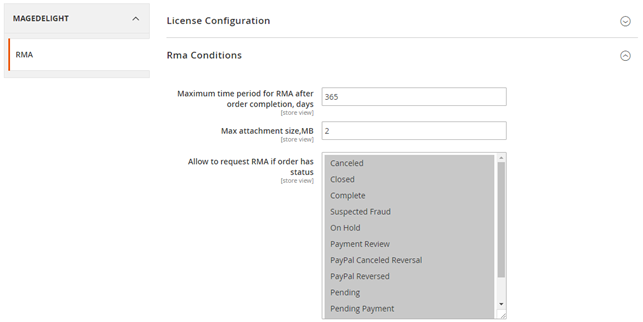
- Maximum time period for RMA after order completion (in days): You can set maximum days to allow RMA, once order is completed.
- Max attachment size (in MB): You can set the maximum size to allow to upload attachments.
- Allow to request RMA if order has status: You can set “Order Status” which are allowed to request RMA.
| Panel |
|---|
|
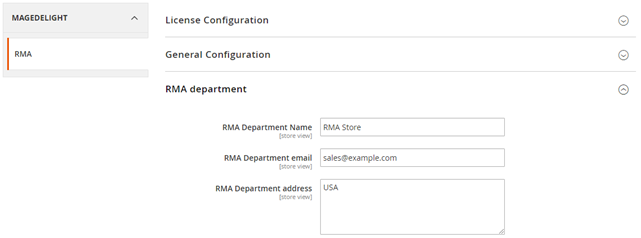
- RMA Department Name: You can set RMA department name from here.
- RMA Department Email: You can set RMA department email here.
- RMA Department Address: You can set RMA department address here.
...