
Installation
To use this extension, you will require to install MageDelight Base Extension first. If it is not installed then please download it from https://www.magedelight.com/extensions/magedelight-base-extension.zip and unzip the package file into the root folder of your Magento 2 installation.
Before installing the extension, please make sure to Backup your web directory and store database
- Unzip the extension package file into the root folder of your Magento 2 installation.
- Connect to SSH console of your server:
- Navigate to the root folder of your Magento 2 setup
Run command as per below sequence,
php -f bin/magento setup:upgrade
php -f bin/magento module:enable Magedelight_Looknbuy
php -f bin/magento setup:static-content:deploy
- Flush store cache
- log out from the backend and log in again
Backend Configuration (Admin side)
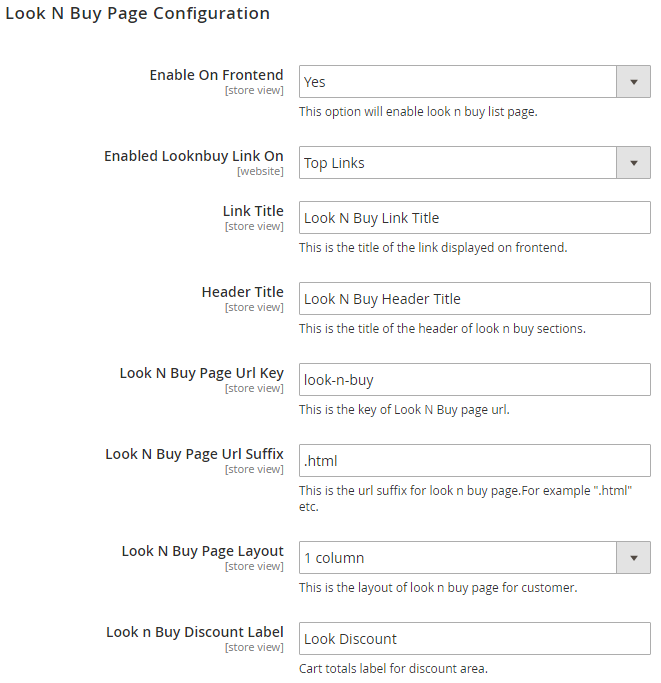
- EnableonFrontend: This option will enable/disable, Look N Buy functionality from frontend.
- ShowLookNBuylinkon: It gives you two options to show link for look n buy with Top Links or Top Navigation menu.
- LinkTitle: Give title to link for look n buy page.
- HeaderTitle: Page title of look n buy page.
- LookNBuyPageURLKey: Define SEO friendly URL key for page.
- LookNBuyPageURLSuffix: You can also define suffix for page if needed.
- LookNBuyPageLayout: You can select the page layout to for page.
- LookNBuyDiscountLabel: You can define label text for discount.
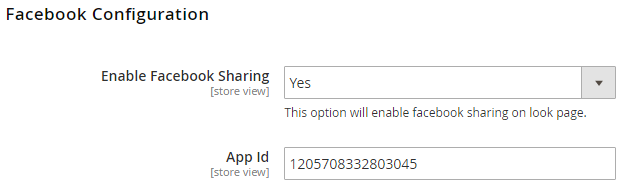
- Enable Facebook Sharing: Specify "Yes" to enable Facebook sharing Specify "Yes" to enable face book sharing
- App ID: Specify app ID to authenticate Facebook app.
- Enable Twitter Sharing: Specify "Yes" to enable Twitter sharing
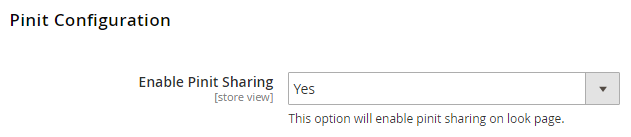
- Enable Pinit Sharing: Specify "Yes" to enable Pinit sharing
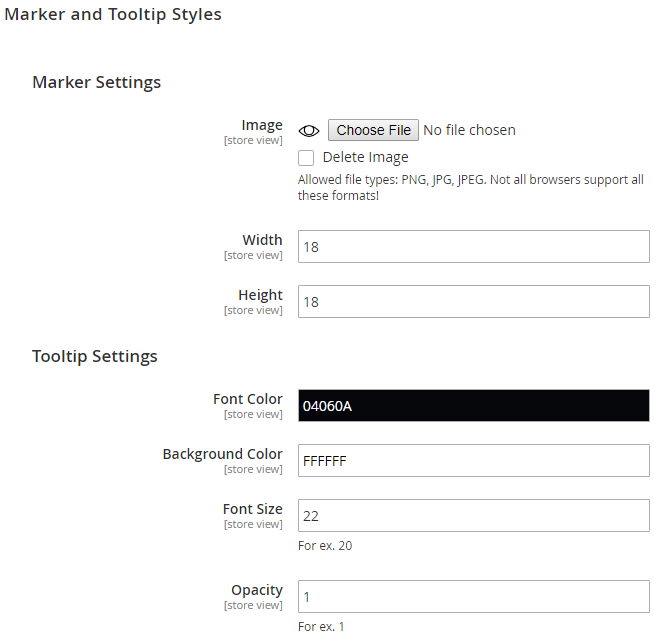
- Image: Upload tool tip marker image, if you wish to changes to fix with your theme/template.
- Width: Marker image width.
- Height: Markup image height.
- Font Color: You can set font color of toot tip text.
- Background Color: Set background color of tool tip.
- Font Size: Set font size for tool tip.
- Opacity: Set Opacity for tool tip.
Backend Functionality
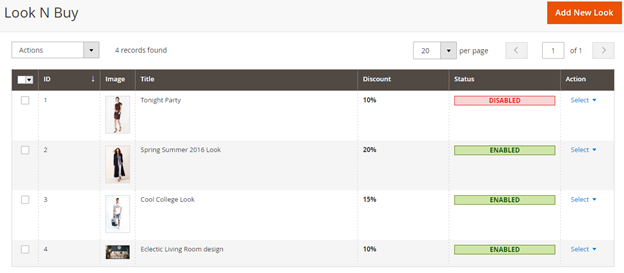
As shown with above screenshots, you will find list of created looks. It shows basic information with grid like ID, image, look name, discount if applied and status of look.
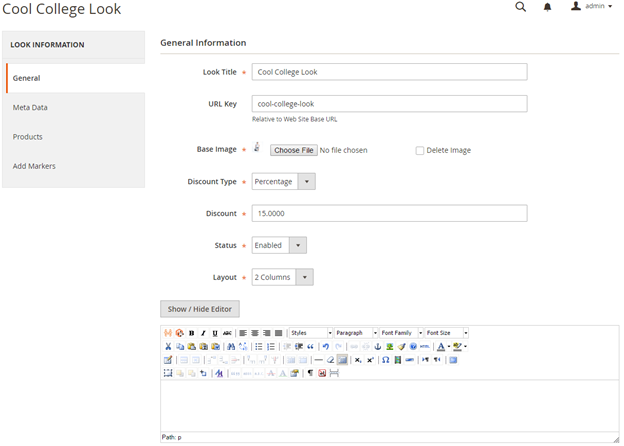
General
- LookTitle: Set the title of look you are creating.
- URLkey: You can set SEO friendly URL of look page.
- BaseImage: Upload main image of look, based on which you will be creating a look.
- Discounttype: Here, you can define type of discount, if customer purchase whole look. This can be Fixed or Percentage.
- Discount: Discount amount based on discount type. If you have set discount type to percentage, discount will be applied on total cost of look else it will be fixed amount of discount.
- Status: You can disable a look here.
- Layout: It provides two type of layout for look, 1 column and 2 columns. You can select layout for your looks based on Base image of look.
- If your design is horizontally broader, you can select 1 column layout. With this, image will be displayed horizontally covering full page size, following with products of look.
- If you set to two-column, look image will listed on left side where as all products will be listed on right hand size of the page.
- Description: You can describe the look you are creating.
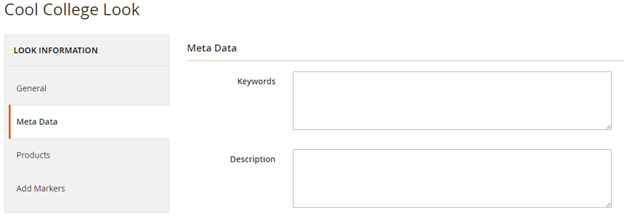
Meta Data
- Keyword: Here you can set Meta keywords for particular look detail page.
- Description: Set Meta description for look detail page.
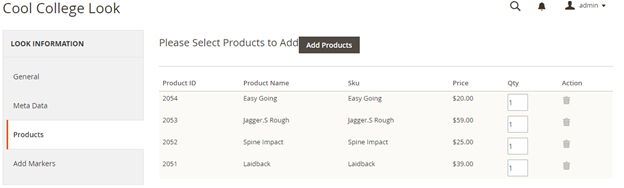
You can select products available/index to particular look. You can search product based and select to include with look. For selected product you can define product quantity to complete look.
Once you done with product selection, you have to save the look. Once you save look you will have access to next tab called Add Markers. This one is main part and important to create look. Here you can define mark point and represent the products.
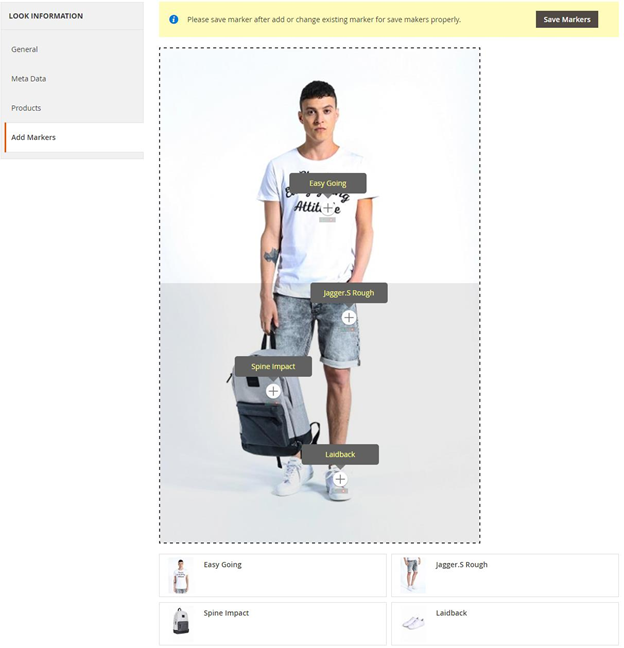
As you can see with above screenshot, the main image of look is on top and all assign/added products are listed below of images. The look image is covered with JS marker area. You only have to click the point where you need to add marker/tag product on look image.
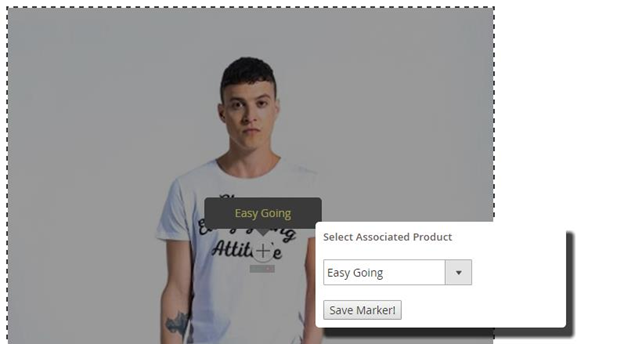
Once you add marked on look image, there would be two action buttons next to marker image. One is for selecting product for marker/tag and another is delete marker image.
Frontend Functionality
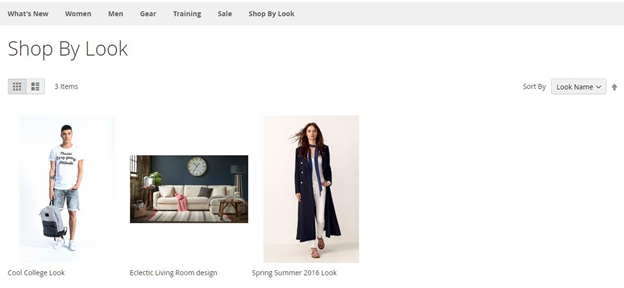
Once you configured the extension and create looks with different products as described above, all active looks will be listed with shop by look page.
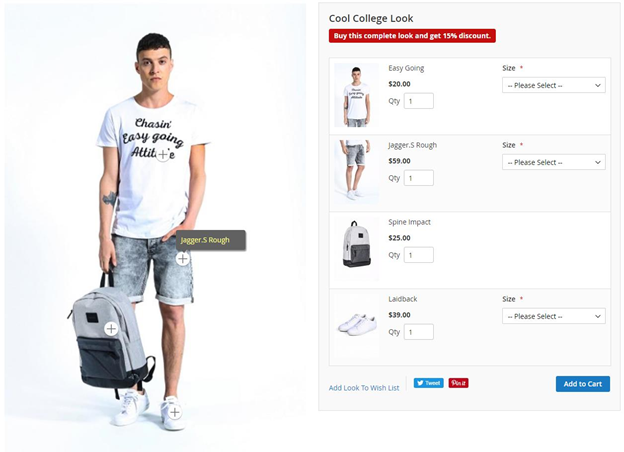
Extension provides you two different layouts options One-column and two-column layout. You can select it based on the look image you have. At the left hand side you can find the main image of look, which is representing a complete look. At the right side, all products are listed included with particular look. Along with custom options if any, it also supports bundled and configurable products, bundled products, downloadable and virtual products too. So it would also supports product type specific options.
If you look image is wider image, you can use one-column layout as shown with above image.
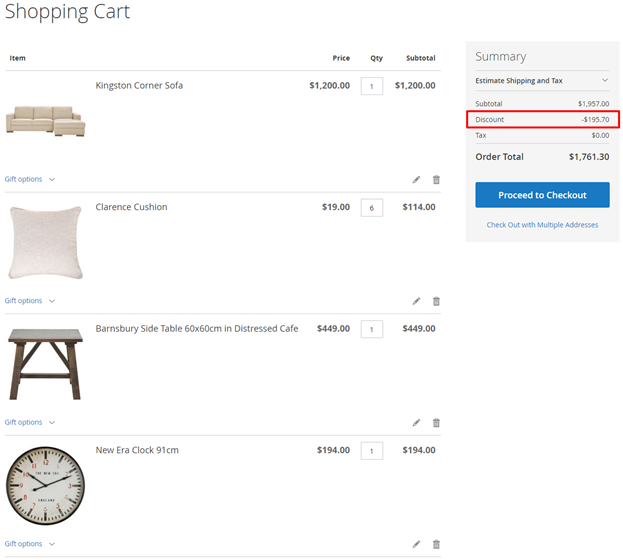
- Discount: If you allowed customer would able to get discount on purchasing complete look with all products and defined quantity of look.
Thank you for choosing MageDelight!