|
|
Installation
|
License Configuration
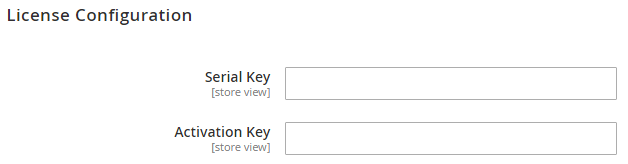
After successful installation of Store Locator extension, you are now required to configure the license key in the admin configuration section. You can set it from: Step 1: Go to, Admin Control Panel > Stores > Configuration > Magedelight > Store Locator > License Configuration. You will find two text boxes asking for Serial Key and Activation Key, which you received on email upon the purchase of extension. See screenshot below:
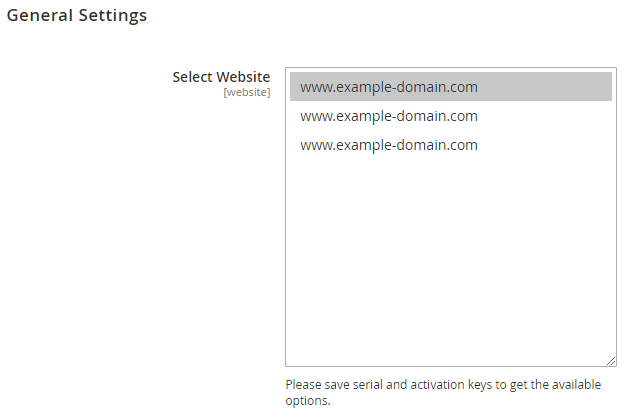
Step 2: Expand “General Configuration” tab, you will find a list of domains for which license is purchased and configured, now select the domain you are going to use, you can select multiple domains by clicking “Ctrl + Select”.
Step 3: Now, select “Yes” from “Enable Module” to enable extension and again click on “Save Config” button on the top right.
|
Backend Configuration (Admin side)
|
Backend Functionality |
Frontend Functionality |
DemoClick here to visit product detail page. Click here to visit frontend. Click here to visit backend admin panel. |
FAQs |
SupportClick here to raise a support ticket using your MageDelight account. |
Additional ServicesClick here to get the customized solution for this extension. |
Thank you for choosing MageDelight!
Enable Store locator: Disable store locator extension.
Menu Link Title: Store locater page link title.
Display Menu Link: Where to show store locater link? Options can be Top Link or Top Navigation menu.
Access to Guest Customer: Set access limit to allows store locator to guest customer or not.
Default Store Image: You can upload default image to be shown, if particular store don’t have uploaded store image.