You are viewing an old version of this page. View the current version.

Compare with Current View Page History

« Previous Version 7 Next »


Installation


You will require to install MageDelight Base Extension first. If it is not installed then please download it from https://www.magedelight.com/pub/extensions/magedelight-base.zip and unzip the package file into the root folder of your Magento 2 installation.


Before installing the extension, please make sure to Backup your web directory and store database


You will require to install MageDelight Base Extension first. If it is not installed then please download it from https://www.magedelight.com/pub/extensions/magedelight-base.zip and unzip the package file into the root folder of your Magento 2 installation.

Root Directory is - "app/code/magedelight/#YourExtensionName#"

  • Unzip the extension package file into the root folder of your Magento 2 installation.
  • Connect to SSH console of your server:
    • Navigate to the root folder of your Magento 2 setup
    • Run command as per below sequence,

      php bin/magento setup:upgrade

      php bin/magento setup:di:compile

      php bin/magento setup:static-content:deploy

      php bin/magento cache:clean

  • log out from the backend and log in again


If you are using Magento 2.3 or later then you do not need to activate license. Extension will be activated with silent activation mechanism and does not require activation keys to be entered manually.   


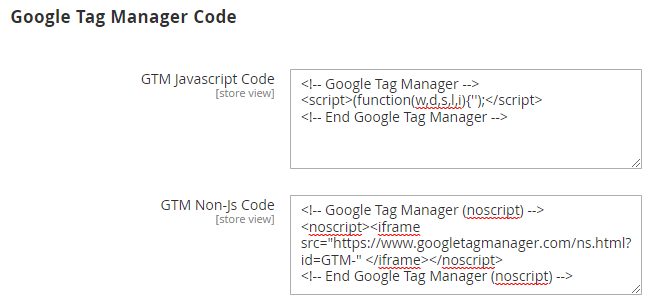
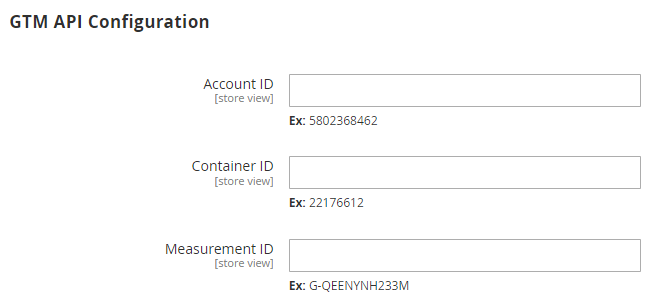
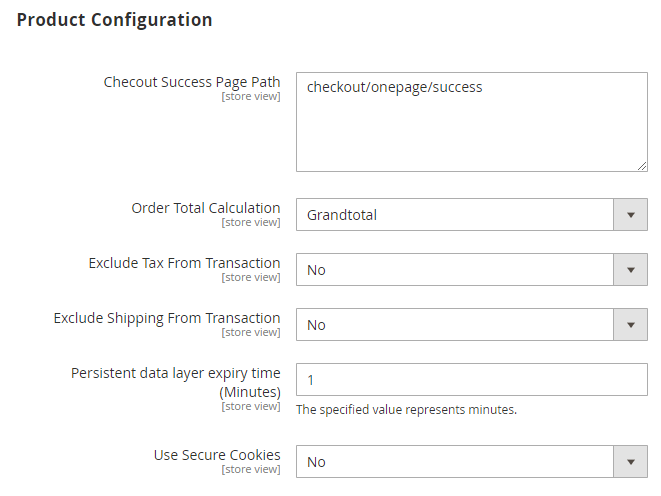
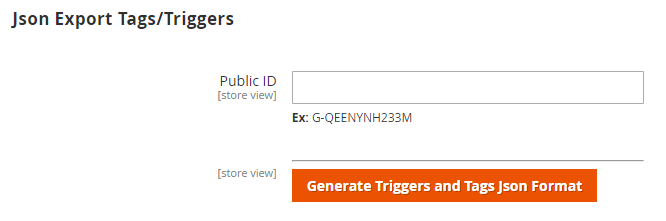
Backend Configuration (Admin side)


  • Enable: Set "Yes" to enable the module/extension. It will enable GA4 tracking for your store. 

  • Client ID: Provide Client ID provided from Google Developer Console Apps.
  • Client Secret: Provide Client Secret generate from Google Developer Console. 

Step 1
Navigate to https://console.cloud.google.com/ and select an existing project or create a new one
At the top of the screen, search for Analytics API
Enable the API
Step 2
On the same Google Analytics API page, go to Credentials
Click the Create Credentials button, and then from the menu, select API key
Step 3
On the same Google Analytics API page, go to the OAuth consent screen
Fill in the App name, User support email, and Developer contact information fields
Click the Save and continue button until the last page, Summary, without changing anything on Scopes and Optional info subpages
Step 4
Click the Create Credentials button, and then from the menu, select OAuth client ID
Select Web Application, enter Name and paste the Authorized redirect URIs from your MainWP Dashboard > Extensions > Google Analytics > Add Account page, and click the Create button
Step 5
On the Credentials page, click Click Download OAuth client to your computer for later
Step 6
Click the OAuth consent screen, then click Publish App button & click Confirm Button
Step 7

Locate the Credentials you saved to your computer & open them in a text editor of your choice.

Navigate to MainWP > Extensions > Google Analytics > Add Account

Enter your Credentials & click Connect Account

Note: ( PROJECT ID = ACCOUNT NAME )
Step 8

Select Your Google Analytics Account

Click Continue to give consent to your MainWP Dashboard

Click Advanced on the SSL Warning ( don’t worry about this – you’re ok )

Click Goto Unsafe Website.

Done: Please check the Manage Accounts tab to verify a successful connection

Important Notes: 
If the process keeps failing for you, please try a different browser and ensure that any ad-blocker add-ons in your browser are disabled.


Backend Functionality
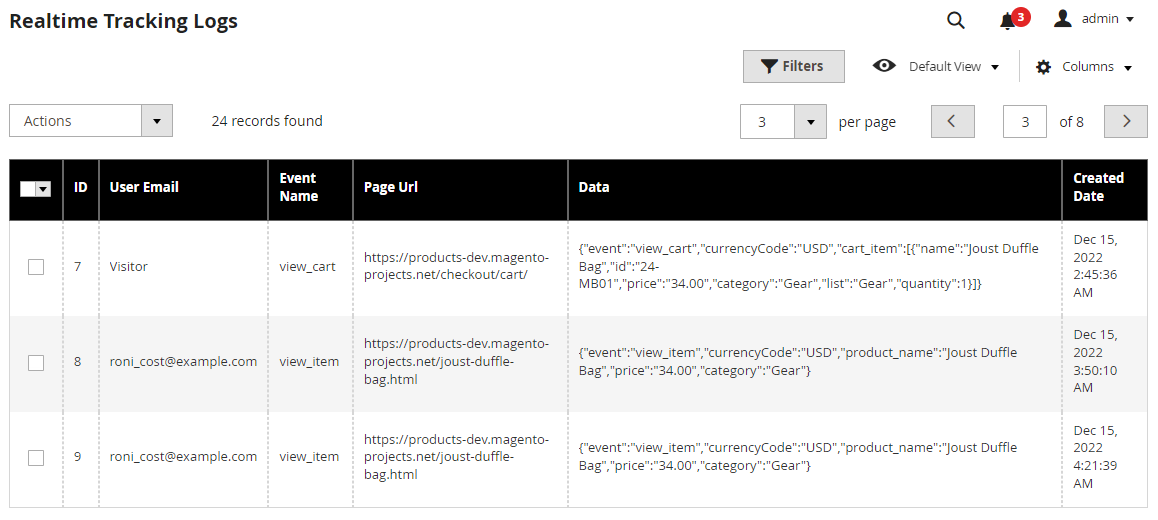


Demo


Click here to visit frontend.

Click here to visit backend admin panel.

Sample Data


Purchase


Click here to purchase from MageDelight.

Click here to purchase from Magento Marketplace. (Composer installation supported)

FAQs


Click here to visit FAQs.

Support


Click here to raise a support ticket using your MageDelight account.

Additional Services


Click here to get the customized solution for this extension.


Thank you for choosing MageDelight!


  • No labels