Backend Configuration (Admin side)
| Section |
|---|
| Panel |
|---|

|
- Enable: Set "Yes" to enable the module/extension. It will enable GA4 tracking for your store.
|
| Section |
|---|
| Panel |
|---|
 Image Removed Image Removed
|
- Client ID: Provide Client ID provided from Google Developer Console Apps.
- Client Secret: Provide Client Secret generate from Google Developer Console.
| Expand |
|---|
| title | Steps to Create Google Analytics Client ID and Client Secret |
|---|
| - Step 1
- Navigate to https://console.cloud.google.com/ and select an existing project or create a new one
- At the top of the screen, search for Analytics API
- Enable the API
- Step 2
- On the same Google Analytics API page, go to Credentials
- Click the Create Credentials button, and then from the menu, select API key
- Step 3
- On the same Google Analytics API page, go to the OAuth consent screen
- Fill in the App name, User support email, and Developer contact information fields
- Click the Save and continue button until the last page, Summary, without changing anything on Scopes and Optional info subpages
- Step 4
- Click the Create Credentials button, and then from the menu, select OAuth client ID
- Select Web Application, enter Name and paste the Authorized redirect URIs from your MainWP Dashboard > Extensions > Google Analytics > Add Account page, and click the Create button
- Step 5
- On the Credentials page, click Click Download OAuth client to your computer for later
- Step 6
- Click the OAuth consent screen, then click Publish App button & click Confirm Button
- Step 7
- Locate the Credentials you saved to your computer & open them in a text editor of your choice.
- Navigate to MainWP > Extensions > Google Analytics > Add Account
- Enter your Credentials & click Connect Account
- Note: ( PROJECT ID = ACCOUNT NAME )
- Step 8
- Select Your Google Analytics Account
- Click Continue to give consent to your MainWP Dashboard
- Click Advanced on the SSL Warning ( don’t worry about this – you’re ok )
- Click Goto Unsafe Website.
Done: Please check the Manage Accounts tab to verify a successful connection Important Notes: If the process keeps failing for you, please try a different browser and ensure that any ad-blocker add-ons in your browser are disabled Image Added Image Added
|
- Please find API Key in the Google Analytics 4 Panel >> Admin Settings >>Data Stream >> Choose the required data stream >> Measurement Protocol API secrets >> Generate a new API secret key and copy the value into this field.
|
| Section |
|---|
| Panel |
|---|
|
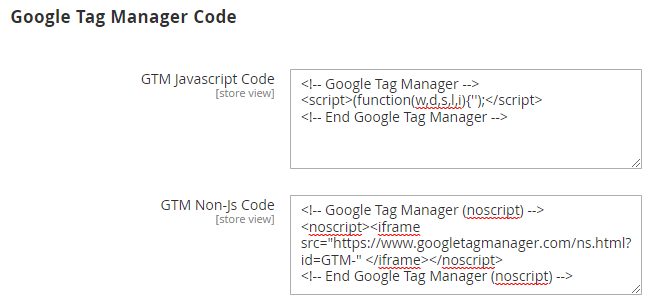
- GTM Javascript Code: Provide GTM Javascript Code here with your unique GTM tracking ID.
- GTM Non-JS Code: Provide GTM Non-Javascript Code here with your unique GTM tracking ID.
|
| Section |
|---|
| Panel |
|---|
|
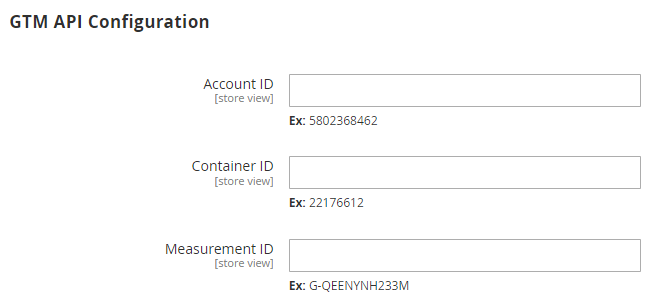
- Account ID: Provide GTM Account ID.
- Container ID: Provide GTM Container ID.
- Measurement ID: Provide GTM Measurement ID.
|
| Section |
|---|
| Panel |
|---|

|
- Product Identifier: Select Product Identifier as either SKU or ID to share with Google Analytics.
- SKU - Magento Product SKU will be shared with GA4 APIs
- ID - Magento Product ID will be shared with GA4 APIs
- Currency: Select currency as either Base Currency or Store Currency to share with Google Analytics.
- Base Currency: Magento Store's Base Currency will be shared with GA4 APIs
- Store Currency: Magento Store's Store Currency will be shared with GA4 APIs
- Example:
- Magento Store Base Currency is USD, and Store Currency is GBP. If your GA4 Panel shows USD currency, then select Base Currency, but if your GA4 Panel is configured to show data in GBP, then select Store Currency in MageDelight GA4 currency configurations. We assume that you have multi-currency enabled in Magento as USD and GBP (Store View).
- Enable Brand: Select "Yes" to enable the brand. It will share values as Brands with GA4 APIs.
- Brand Attribute: Provide Magento Attribute to share values with Google Analytics as Brands. I.e., Magento Product Attribute "brand" can be set as GA4 brand.
- Enable Product Variant: Select "Yes" to enable the product variants to be shared with GA4 APIs.
- Child vs Parent: If Child shared, then Child Products information will be shared with GA4 APIs else, Parent Products information will be shared with GA4 APIs. It will be helpful with Magento configurable products. I.e., Parent SKU "MT11" and child SKU "MT11-S-Blue" is set in Magento. For Parents, it will share MT11, but for child SKU, it will share "MT11-S-Blue" with GA4.
|
| Section |
|---|
| Panel |
|---|
|
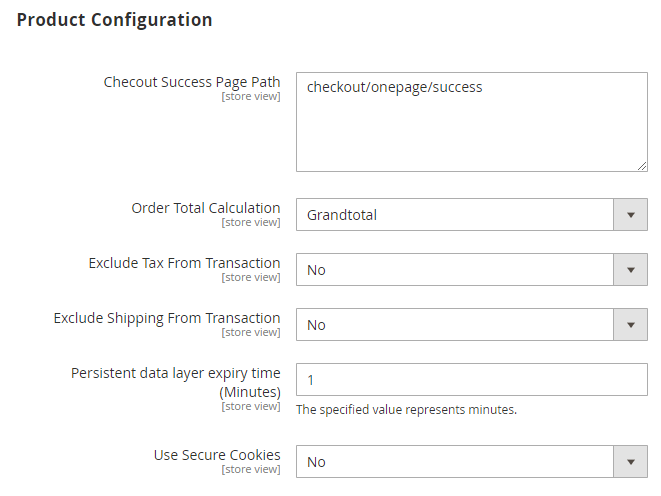
- Checkout Success Path: Please provide webpage URL of checkout success. I.e., "checkout/onepage/success".
- Order Total Calculation: Provide the order total either as the value of Magento Subtotal or Magento Grand Total.
- Exclude Tax From Transaction: Select "Yes" if you want to exclude tax from the transaction amount.
- Exclude Shipping From Transaction: Select "Yes" if you want to exclude shipping from the transaction amount.
- Persistent data layer expiry time: Provide values in minutes to persist (cookie) data layer.
- Use Secure Cookies: Set "Yes" to share the cookie as a secure cookie. Your website must be with HTTPS to use secure cookies.
- Is Allow Not Logged In customer: Set "Yes" to allow secure cookie for not logged in customers.
|
| Section |
|---|
| Panel |
|---|
|
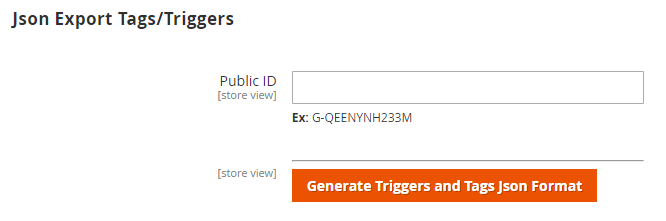
- Provide "Public ID" (it can be found in your GTM account) to generate tags, triggers, and variables for GA4. It will be helpful to import the same to Google Analytics Panel.
| Expand |
|---|
| title | Steps to Import Container using JSON file |
|---|
| - Go to your Google Tag Manager Dashboard and access the Admin section and choose Import Container
- Click the Choose container file option and navigate to the JSON file you previously prepared and downloaded. Then, select a workspace (existing or new) and an import option.
- When you import your container, you will be given the option of merging the imported content with the selected workspace or completely overwriting it. Overwriting the specified workspace will delete all of the workspace's current tags, triggers, and variables and replace them with the imported container.
- After importing the generated JSON, a preview will appear, informing you of the number of modifications made to the container. Tags, Triggers, and Variables should be added or altered in varying quantities based on your Magento Admin settings. After you click Confirm, you should be finished importing your preferences.
|
|
|