
Installation
You will require to install MageDelight Base Extension first. If it is not installed then please download it from https://www.magedelight.com/pub/extensions/magedelight-base.zip and unzip the package file into the root folder of your Magento 2 installation.
Before installing the extension, please make sure to Backup your web directory and store database
You will require to install MageDelight Base Extension first. If it is not installed then please download it from https://www.magedelight.com/pub/extensions/magedelight-base.zip and unzip the package file into the root folder of your Magento 2 installation.
Root Directory is - "app/code/magedelight/#YourExtensionName#"
- Unzip the extension package file into the root folder of your Magento 2 installation.
- Connect to SSH console of your server:
- Navigate to the root folder of your Magento 2 setup
Run command as per below sequence,
php bin/magento setup:upgrade
php bin/magento setup:di:compile
php bin/magento setup:static-content:deploy
php bin/magento cache:clean
- log out from the backend and log in again
If you are using Magento 2.3 or later then you do not need to activate license. Extension will be activated with silent activation mechanism and does not require activation keys to be entered manually.
Backend Configuration (Admin side)

- Enable Store locator: Enable/Disable store locator extension.
- Menu Link Title: Store locator page link title.
- Display Menu Link: Where to show store locator link? Options can be Top Link or Top Navigation menu.
- Access to Guest Customer: Set access limit to allows store locator to guest customer or not.
- Default Store Image: You can upload default image to be shown, if particular store don’t have uploaded store image.
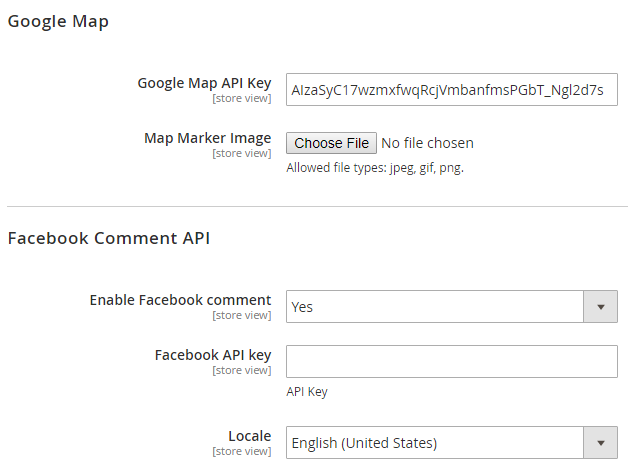
- Google Map API Key: Defined Google map API key.
- Map Marker Image: You can upload Google map marker image if needs to show specific image. Else default google map marker image would be used.
- Facebook Comment API: Admin can enable/disable Facebook comment for users to write comment about own store to know their reviews.
- Facebook API key: admin needs to enter Facebook API key
- Locale: Locale would allow admin to change language of Facebook comment section only.
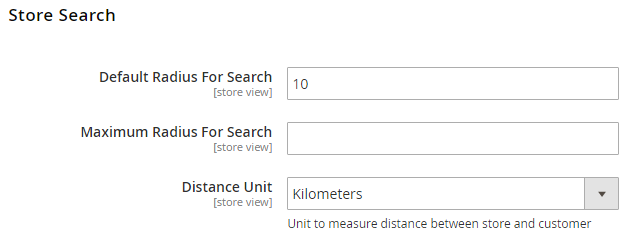
- Default Radius for Search: You can define default radius of distance to be cover while searching store on Google map.
- Maximum Radius for Search: Set maximum radius limit user can search store from his current location.
- Distance Unit: Distance unit while search on Google map. Options can be Kilometers or Miles.

- Page Title: Store locator page title.
- Page URL: Store locator page URL.
- Page URL suffix: Store locator page URL suffix.
- Meta data: You can define meta data for store locator page.
- Meta Keywords: You can define meta keywords for store locator page.
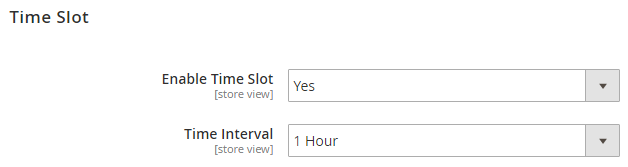
- Enable Time Slot: Enable time slot
- Time Interval: Define time interval.
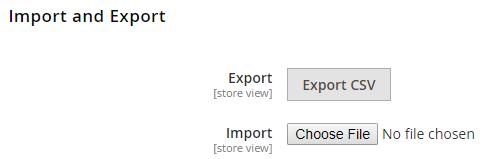
Import and Export: This facilitates import and export for bulk data for an extension.
You can export CSV file to find sample data file of Import
Backend Functionality
Manage Stores
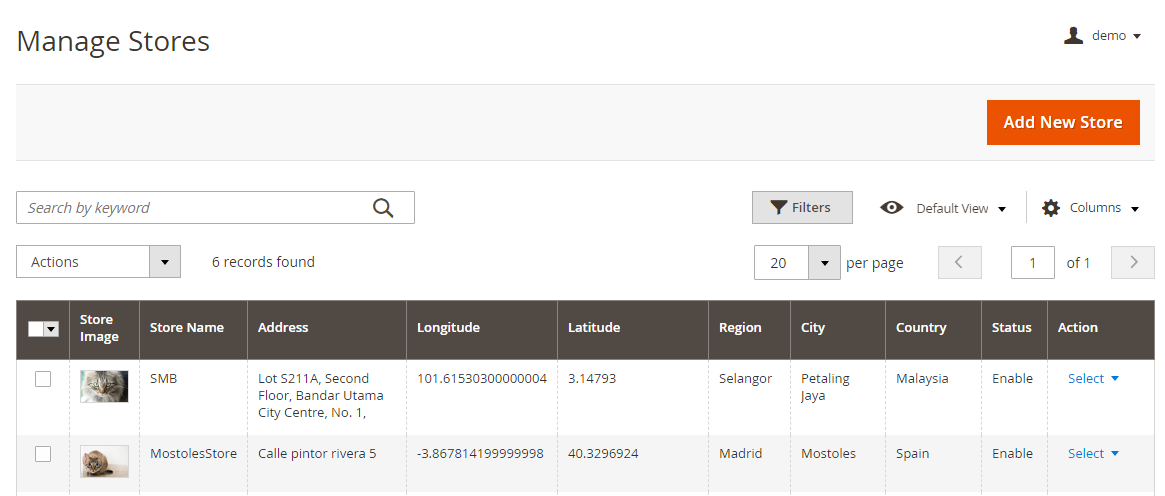
With manage stores you can create multiple store with store information like address, Google map, working days and hours.

- Store Name: Define store name
- URL Key: Define SEO friendly URL key for store details page. If not defined, it would be auto generated from store name.
- Store Description: Describe store details to be shown on store detail page.
- Website URL: Store website URL if have any.
- Facebook URL: Facebook page to show link on store details page.
- Twitter URL: Twitter URL to show link on store details page.
- Status: Enable/Disable the store.
- Address: Define store address details with city, state, country, zip code. Based on given address, store will be located on google map.
- Telephone: You can add multiple phone number for store. Visible contact on frontend: Set visibility of phone number at frontend. Store Image: upload store image/icon.
- Google Map: Based on given address store will be located on google map. However you can use drag & drop feature to show map accurately on map. Longitude & latitude: Its value will be automatically set based on the store locate on google map. However you can edit if needed.
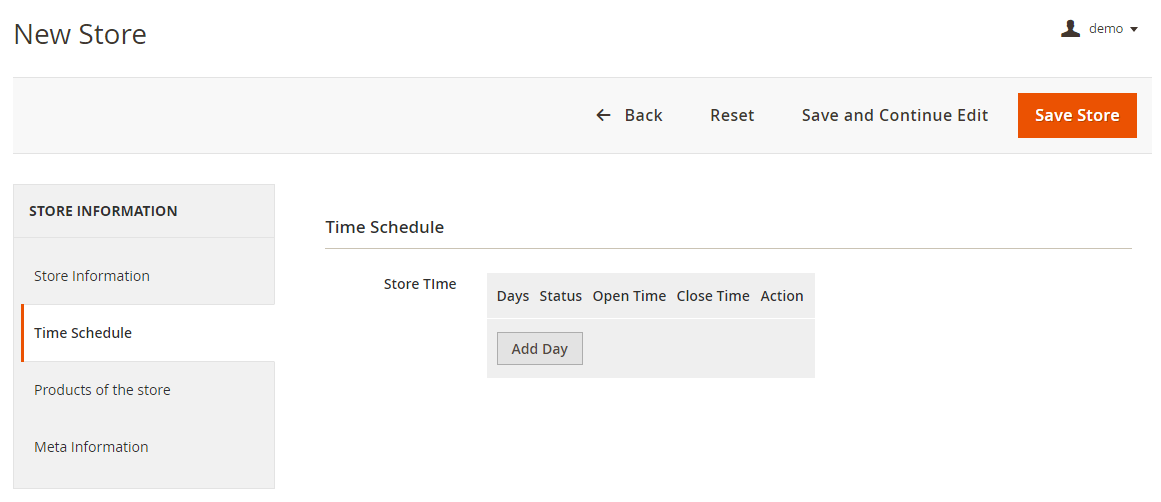
- Time Schedule: Here you can define the stores working days and working time of the store. You can define working time for each week day or even set close time too. As shown with below image
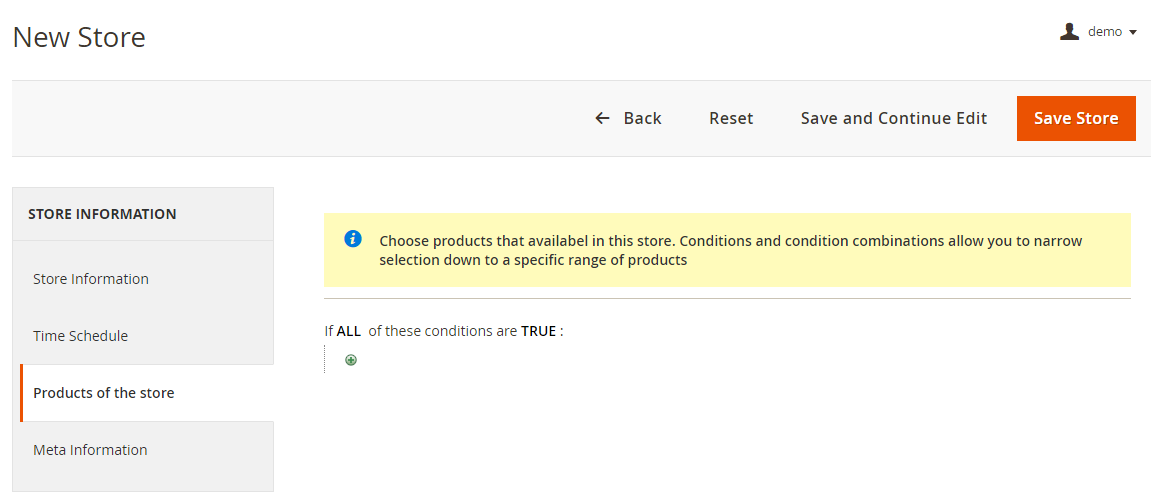
- Product of the store: Select products of the store to display on the frontend. It would create a link on product detail page and on mouse hover user would get a list of products available in the store.
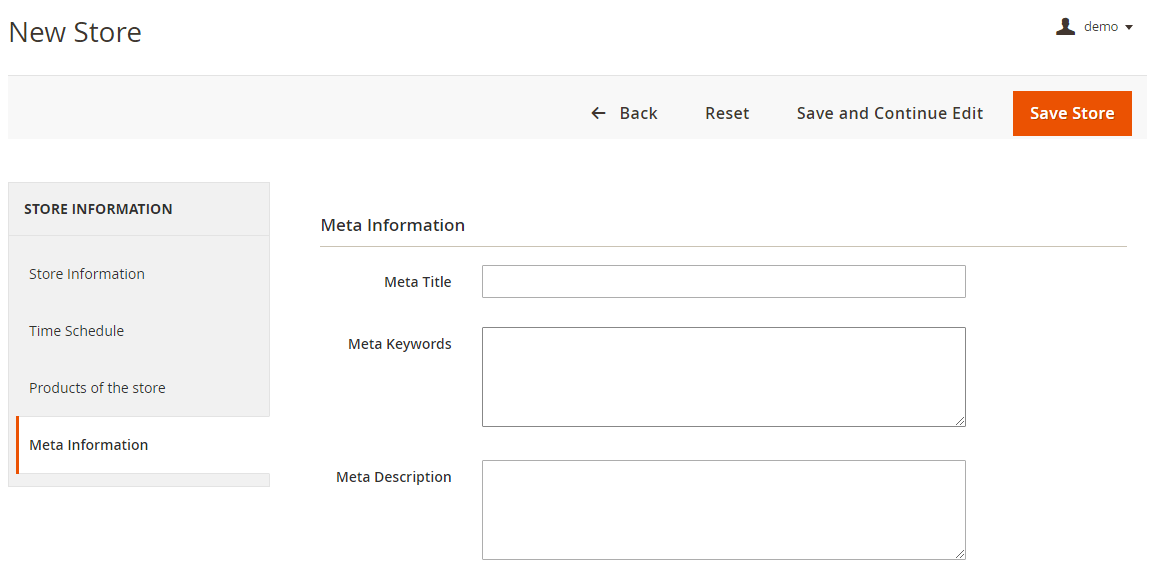
- Meta data: You can define Meta title, Meta keywords and Meta description for SEO purpose for each store detail page at frontend. As shown with below image.
Manage Holiday

You can manage holidays for each individual store or all stores. You can create holiday for one day or vacation period for multiple days.

- Holiday Name: You can define
- Store: All Stores/Selected stores. You can have holiday for all store or select multiple stores.
- Status: Enable/Disabled holiday.
- From Date: Select holiday start date.
- To date: Select holiday end date.
- Comment: Specific not for holiday if have any.
- Repeat Yearly: If you check this check box, particular holiday will repeat every year on same date. For example you can define 1st Jan New Year holiday, and mark this day to repeat every year.
Manage Tag
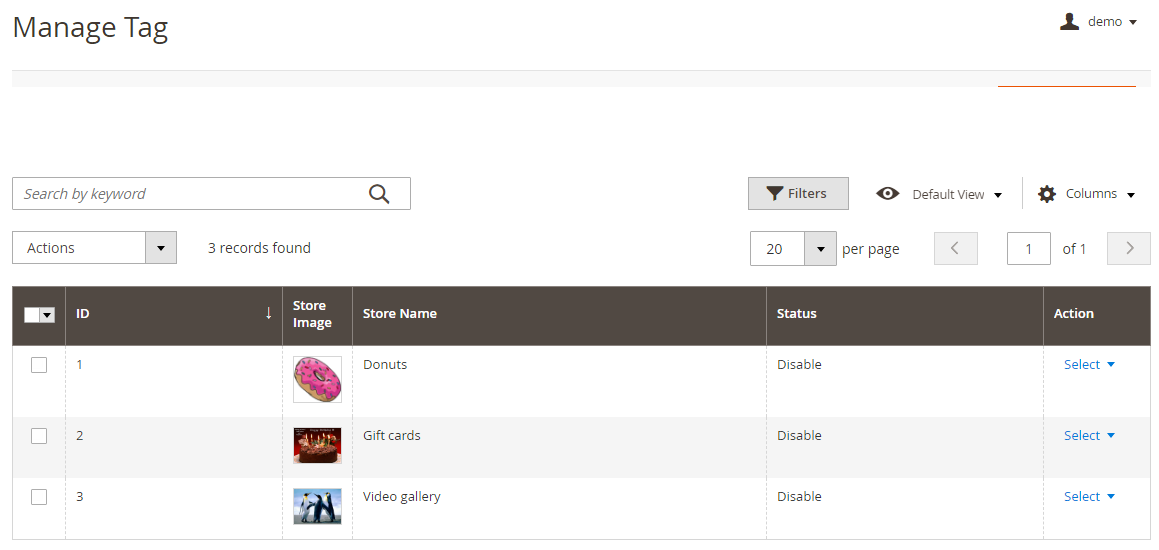
Manage tags allows admin to assign stores to each tag. This would display tags on frontend and user can filter the stores using tags.
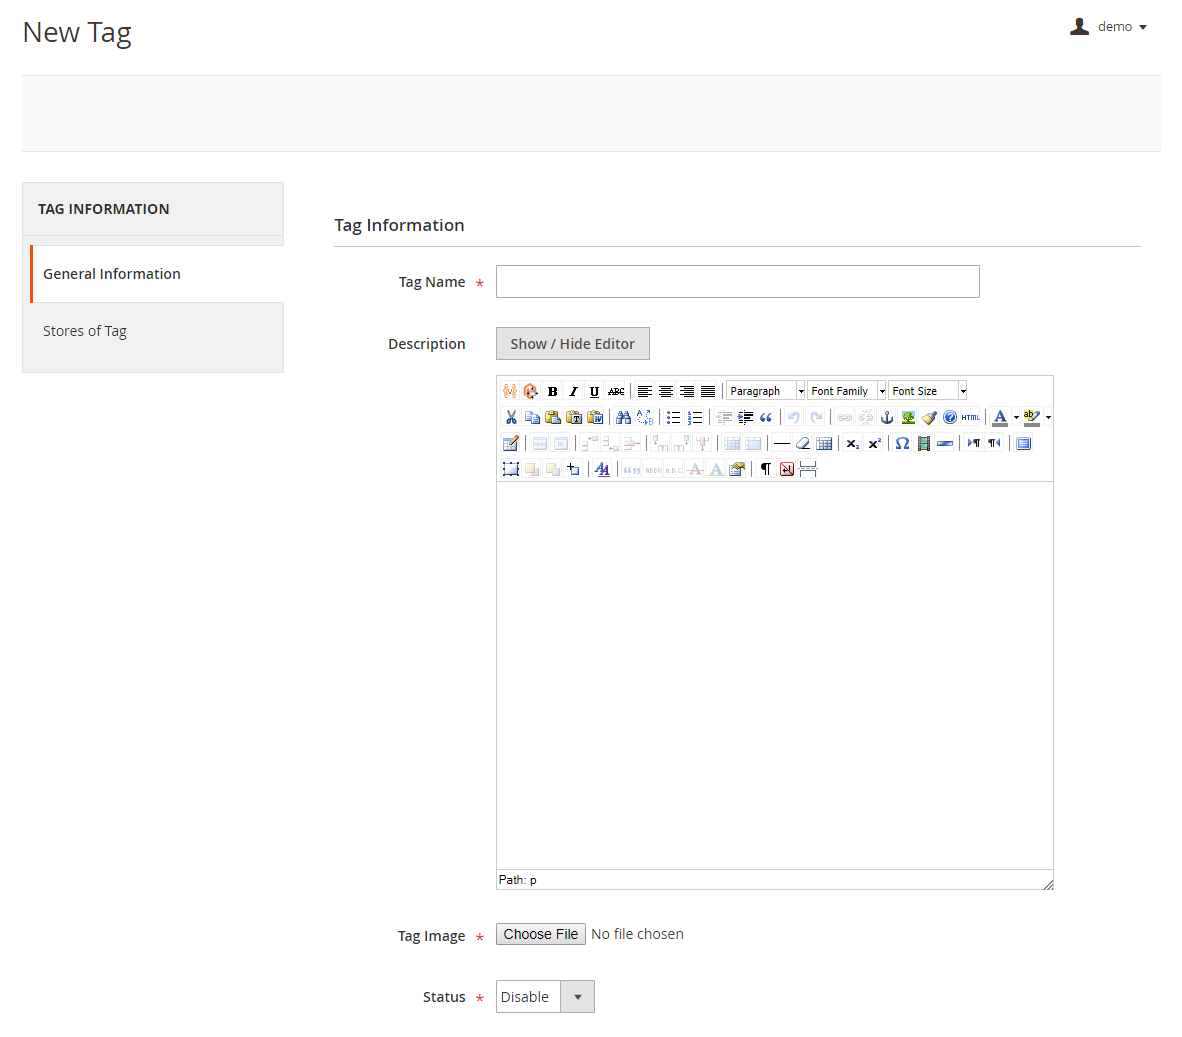
- General Information: Add tag name, description and image which would get displayed on front-end. Status can be enabled/disabled to display or not on the front-end.
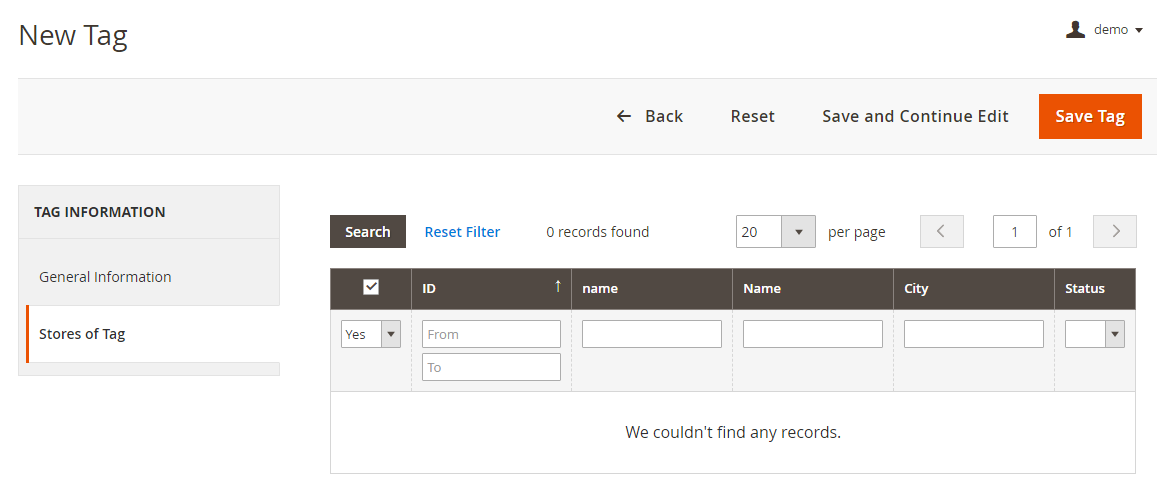
- Store of Tag: Assign store(s) to each tag. This would display list of stores assigned to it when user clicks on any tag. (Helps narrow down the store search)
Store Pickup Shipping Method
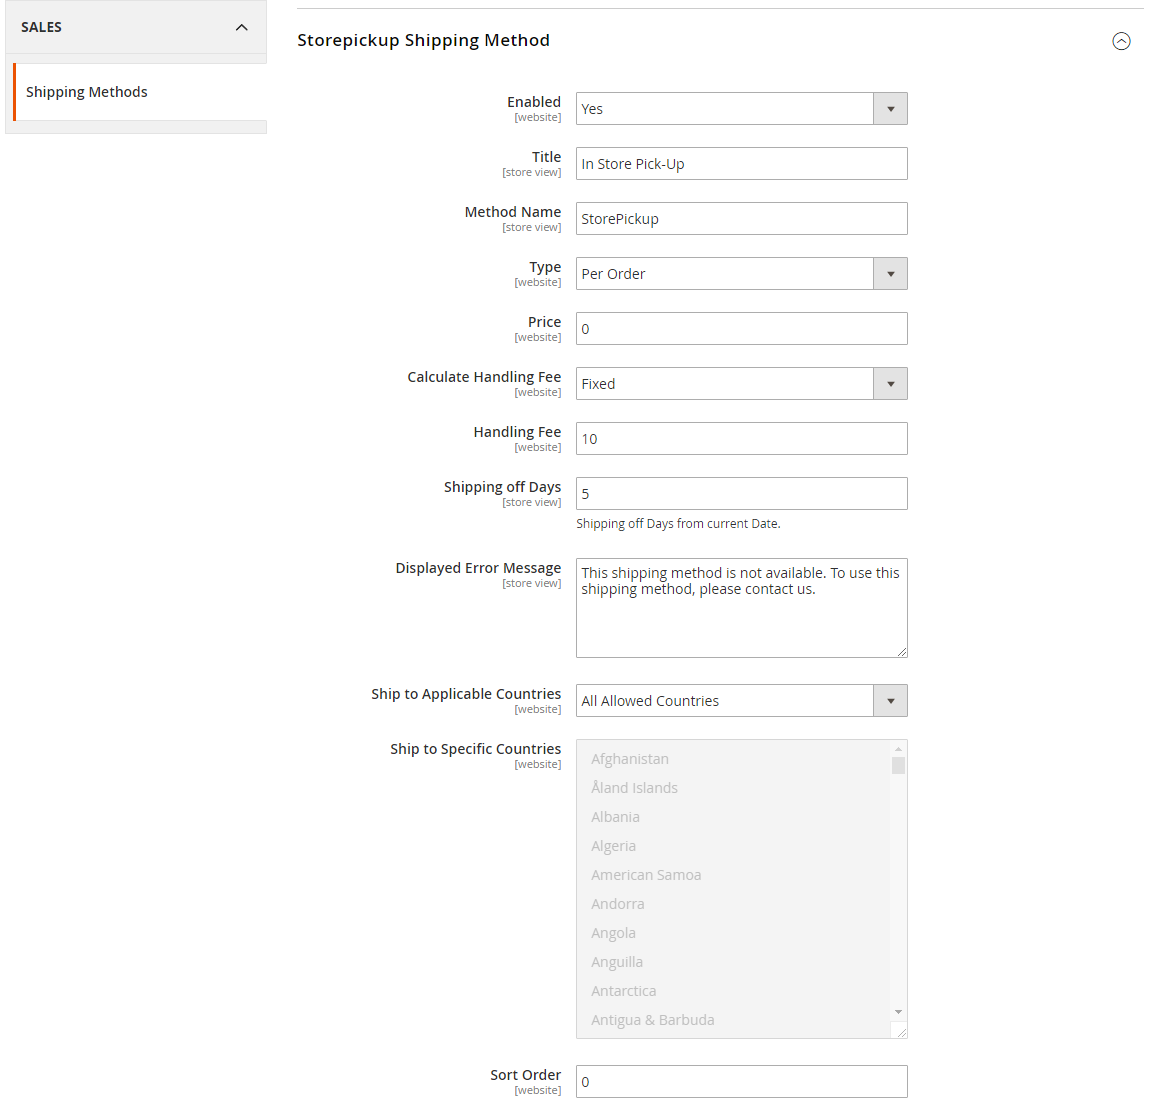
You can configure store pickup shipping method from Configuration > Sales > Shipping Method.
- Enable: Enable/Disable shipping method.
- Title: Shipping title.
- Method Name: Shipping method name.
- Type: None/ Per Item/ Per Order. Price will be calculated based on type selected here.
- Price: Price of shipment.
- Calculate Handling Fee: Fixed/Percentage. Calculate handling fee can be fixed amount or percentage of total shipping price.
- Handling Fee: Can have fix amount of charge or can be 0 to 100% of shipping price based on handling fee calculation.
- Shipping off Days: Shipping off Days from current Date. Number of days after you can pick up order from store.
- Display Error Message: Regional error message can be set for order.
- Ship to Applicable Countries: All allowed countries / Specific countries.
- Ship to Specific Countries: Select allowed counties, applicable to specific countries.
- Sort Order: Shipping method order number to be show on checkout.
Frontend Functionality
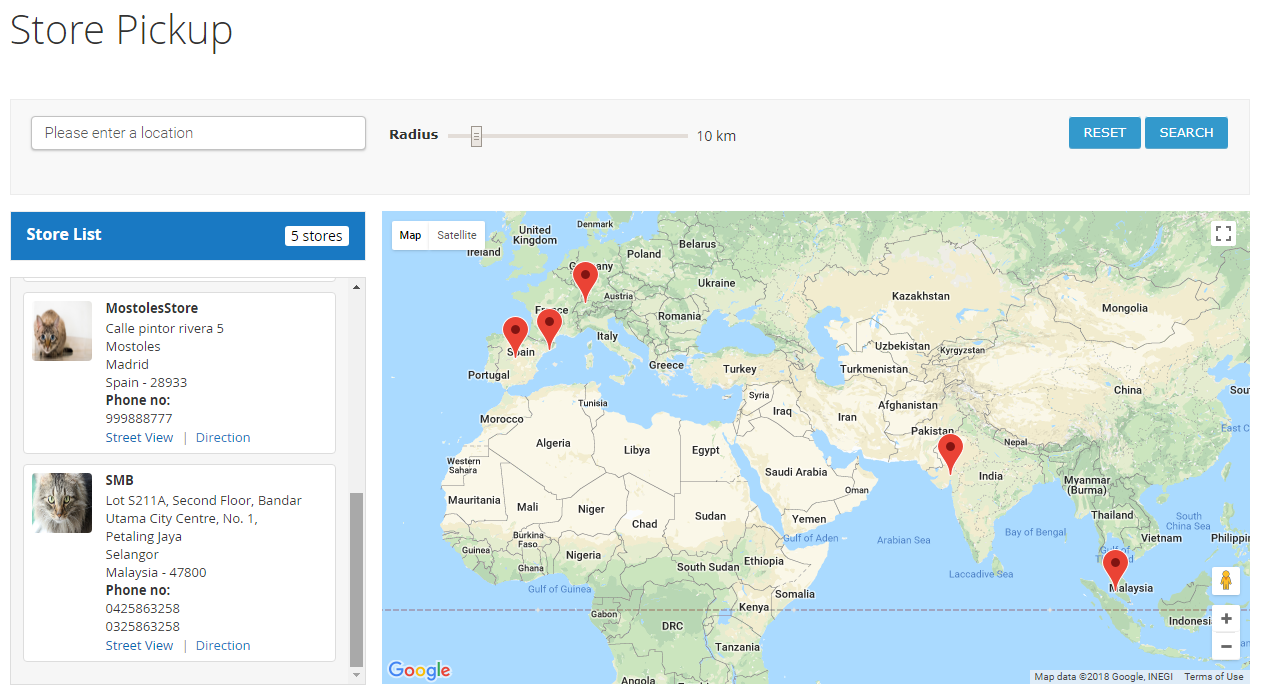
Once you configured the extension and create stores, the store will be listed on store locator page. The store locator link will be displayed on top links or with top menu, based on how it configured. Store locator page will be look like above image.
You can search nearest store with store search feature, user can use radius from to find nearest store from his current location. As shown with above image and location. It also helps to find direction from your current location or from particular location to particular store. Refer above image.

Store page will contain details of particular store with store description, address. You can also have the direction finder supported by map. It also includes working days & time details, upcoming holiday list.
- Facebook Comment: User can write comment about store using Facebook comment i.e. user needs to login using Facebook credentials and the one can write comment.
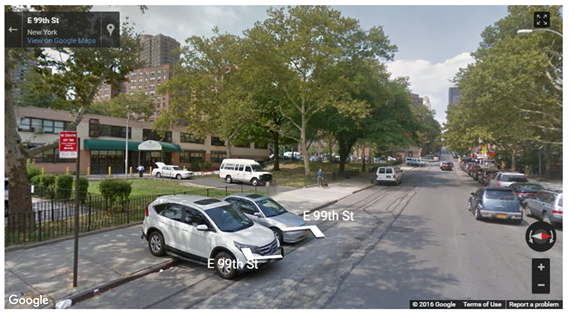
That also supports street view of store, as show with above image.
Product available in store(s)
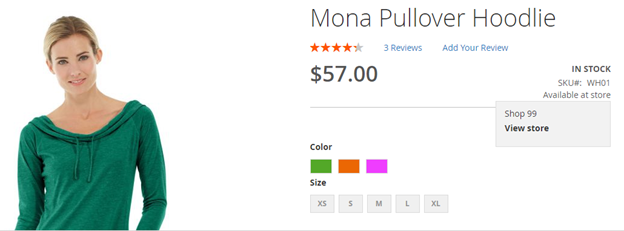
Display list of stores on product detail page on mouse hover of “Available at store”. I.e. the product is available in mentioned store(s).
Store Pickup shipping method
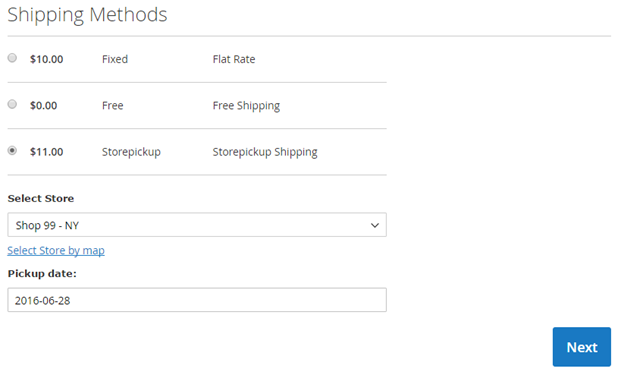
Based on the shipping method configuration, shipping method will be listed on checkout page. With store pickup shipping method customer will have list of all available store. Customer can choose nearest or most preferred store. After selecting store, customer can choose preferred date to order pickup using date picker. Date picker will only show available dates for particular date.
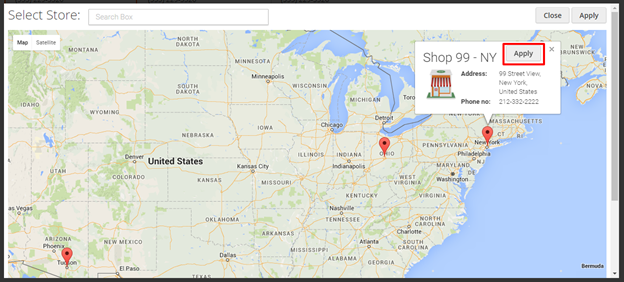
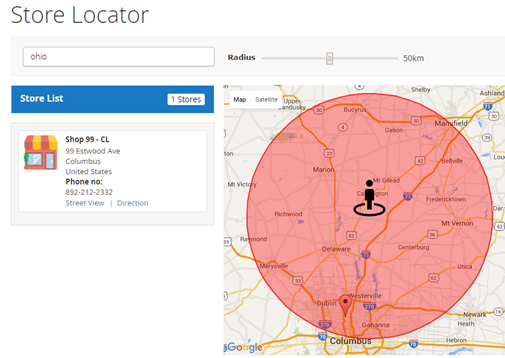
If customer is not aware which store is nearest from his/her location, he can check with map and select store from map only. As show with above image,
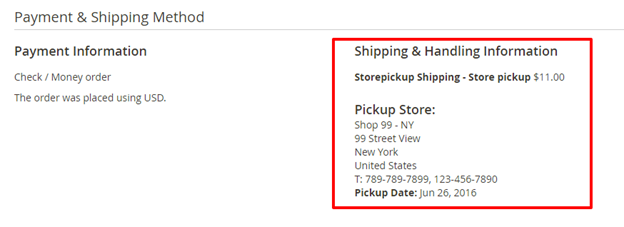
Order page will show shipping details with store name, store address and pickup date. As shown with above reference image.
This Extension does not be supports checkout with multiple addresses
Thank you for choosing MageDelight!