
Installation
You will require to install MageDelight Base Extension first. If it is not installed then please download it from https://www.magedelight.com/pub/extensions/magedelight-base.zip and unzip the package file into the root folder of your Magento 2 installation.
Before installing the extension, please make sure to Backup your web directory and store database
You will require to install MageDelight Base Extension first. If it is not installed then please download it from https://www.magedelight.com/pub/extensions/magedelight-base.zip and unzip the package file into the root folder of your Magento 2 installation.
Root Directory is - "app/code/magedelight/#YourExtensionName#"
- Unzip the extension package file into the root folder of your Magento 2 installation.
- Connect to SSH console of your server:
- Navigate to the root folder of your Magento 2 setup
Run command as per below sequence,
php bin/magento setup:upgrade
php bin/magento setup:di:compile
php bin/magento setup:static-content:deploy
php bin/magento cache:clean
- log out from the backend and log in again
If you are using Magento 2.3 or later then you do not need to activate license. Extension will be activated with silent activation mechanism and does not require activation keys to be entered manually.
Backend Configuration (Admin side)
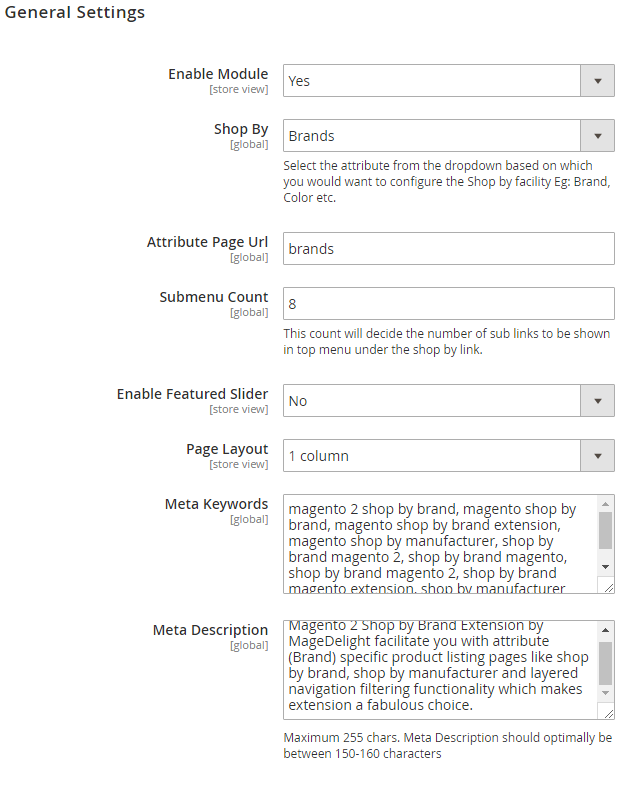

- Enable Module: Yes/No
- Shop By: select the attribute from drop down and based on the selected attribute you can configure the Shop by functionality. (Attribute can be anything e.g. Brand, manufacturer, color etc.)
- Attribute URL Page: Set URL key related to the attribute selected
- Submenu Count: define number of brands/attribute values to display as sub menu items. For example, if it is set to 5, then 5 sub menu items would get displayed.
- Enable Featured Slider: Enable/disable featured slider to display featured products. It is required to enable the slider to display featured attribute values.
- Meta Keywords: Set meta keywords for attribute value listing page
- Meta Description: Set meta description for attribute value listing page
- Character Length: Specify character length for brand description on product page. It is recommended to keep less than 200 length.
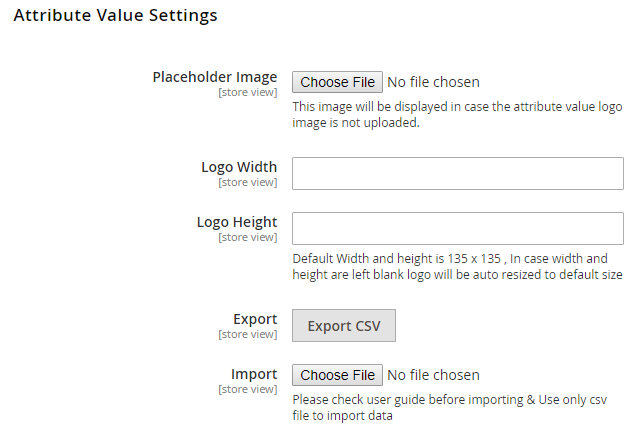
- Placeholder Image: Set placeholder image, this image would get displayed for attribute values if they don’t have an image set for themselves.
- Logo Width / Height: These configurations will be used to resize the logo displayed in listing and on the attribute listing and attribute value specific product listing page. By default the logo size will be 135x135.
- Export: All attribute (brand) values can be exported in a .csv file for each existing store views.
- Import: Attribute values can be imported using .csv file for updating the existing attribute values for each store view. Currently .csv file is supported for import. Please read the instructions mentioned in admin configuration exactly below import field.
Currently user can only update the existing attribute values using .csv file. To add new values you will first need to create attribute values in the Brand attribute in Magento attribute section and sync the same with our module and later you can update its value using csv.
User Guide to Import
1) You cannot insert a new Brand in csv, you can just update the existing data and modify it's value
2) Columns: id & option_value Cannot be edited / kept empty whereas is_enabled & is_featured can be edited but cannot be kept blank in csv.
3) Where as id & option_value are not editable field.
4) You can fill layout column in csv from one of these values: 1column, 2columns-left , 2columns-right , 3columns
5) Column store_id needs to be the store id from your existing stores in your website.
6) Before importing the logo please make sure you add the images in pub/media/import
6.1) You can use your custom folder inside it eg: pub/media/import/shopbybrand/
6.2) If image is directly kept in folder then just insert image name in logo_path column in csv eg:logo.png
6.3) In case of subfolder you can insert it as eg: shopbybrand/logo.png
Backend Functionality
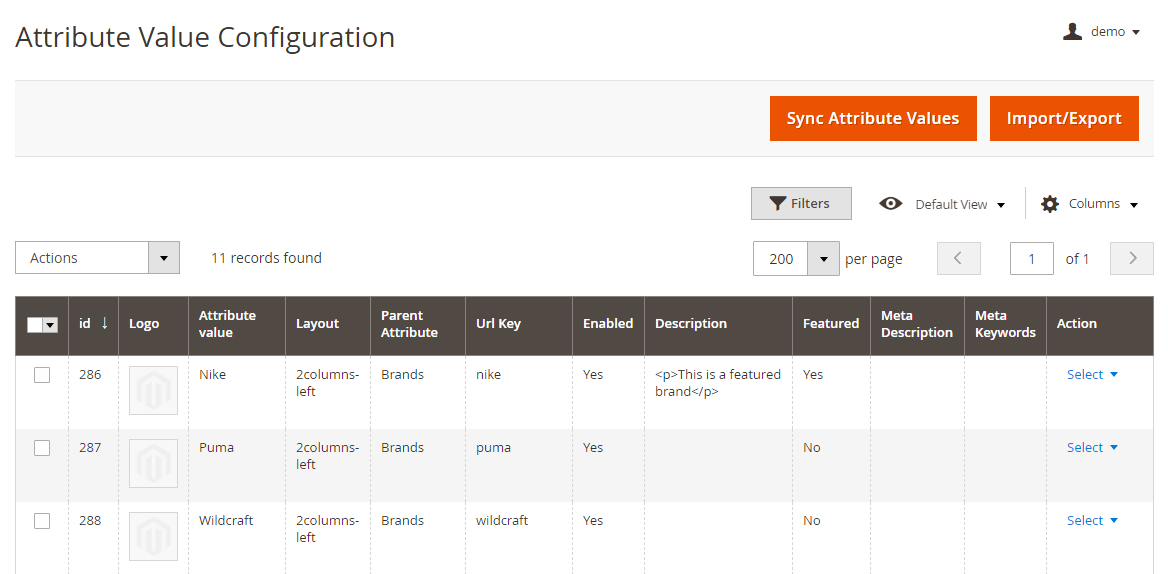
You can create the attribute value specific page here that you want to be displayed in frontend with their options. Already Created attribute pages will be displayed here, to sync new/updated values you need to click on Sync Attribute Values.
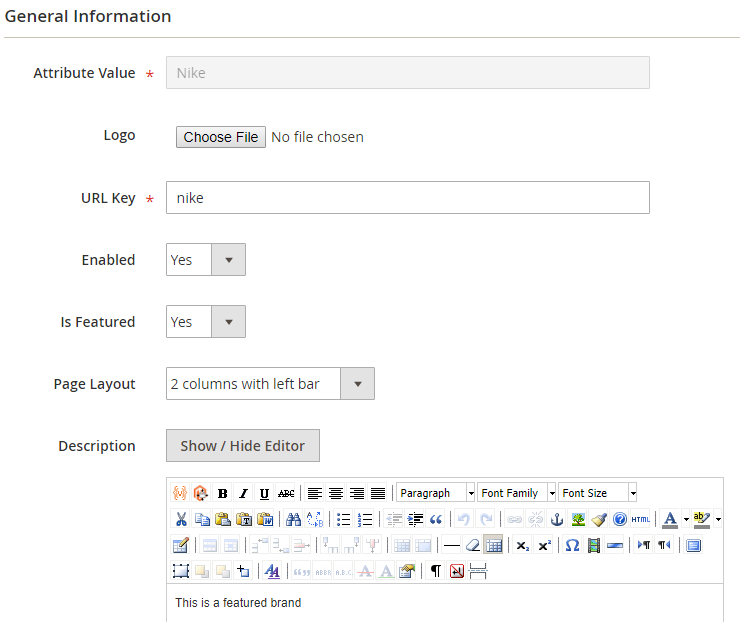
After clicking on edit attribute value you will be able to view the above screen.
- Attribute Value: This field will be not editable. The values will be fetched from the attribute values / option from the product attribute. You can change this value from the product attribute value section in case you want to.
- Logo: You can upload the logo of the attribute value which will be displayed in frontend in case you don't upload the logo a placeholder image will be displayed in frontend. You can change the logo size globally or upload the default placeholder to be used in frontend in case logo is missing you can do it from the settings menu.
- URL Key: You can enter your SEO friendly URL as per your wish but in case that URL already exists it will be rewritten as urlkey-attribute_id to avoid duplication in request paths.
- Enabled: You can choose to enable/disable the display of option in frontend. By default it will be set as Yes when they are synced.
- Is Featured: You can choose to display the option as featured or not. By default it will be set as No when they are synced.
- Page Layout: The layout to be displayed can be selected from the available options here, by default it will be set as 2Columns -Left when they are synced.
- Description: You can enter the description to be displayed above the product listing on the option page. By default it will be blank when they are synced.
You can change above setting values for each store view except Attribute Value and logo for the website for which the module is installed.
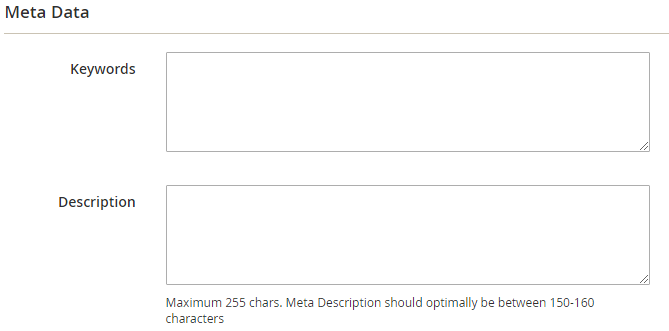
- Keywords: You can add your Meta keywords here and will be added in Meta keywords on the attribute value page.
- Description: You can add your Meta Description here and will be added in Meta keywords on the attribute value page.
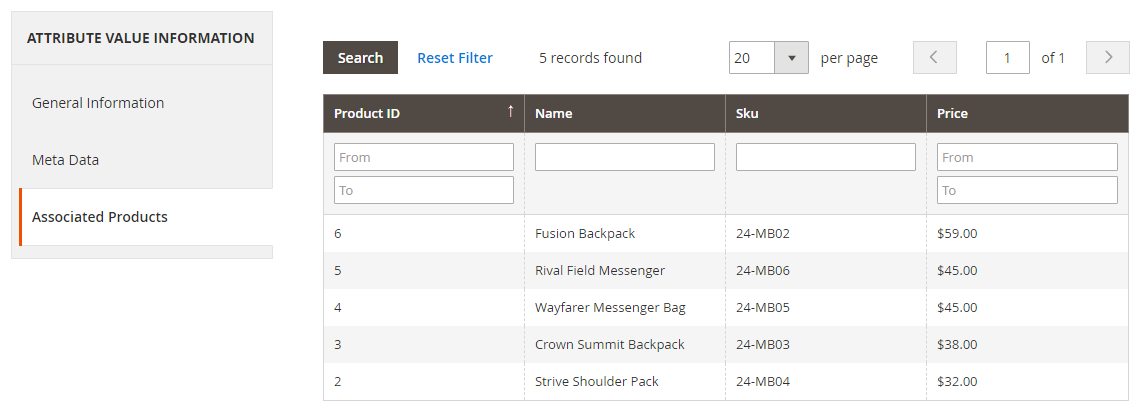
You can view the associated products that have the particular option selected for their parent attribute (In select / Multi-select Attribute).
In frontend only those products will be displayed on the option page whose visibility is either catalog or catalog/search.
After you done with the Attribute value configuration you can click on Save and Continue Edit or Save And Sync Attribute It will sync all the attribute values (Attribute options) and you will be able to access them as individual pages in frontend along with their relevant products. In backend you can view those from Shop by Brand > Manage Attribute Values.
Frontend Functionality

You can view the attribute created in the backend in a separate menu with the heading shop by. Here it will be displayed as menu item with sub menu i.e. attribute values.
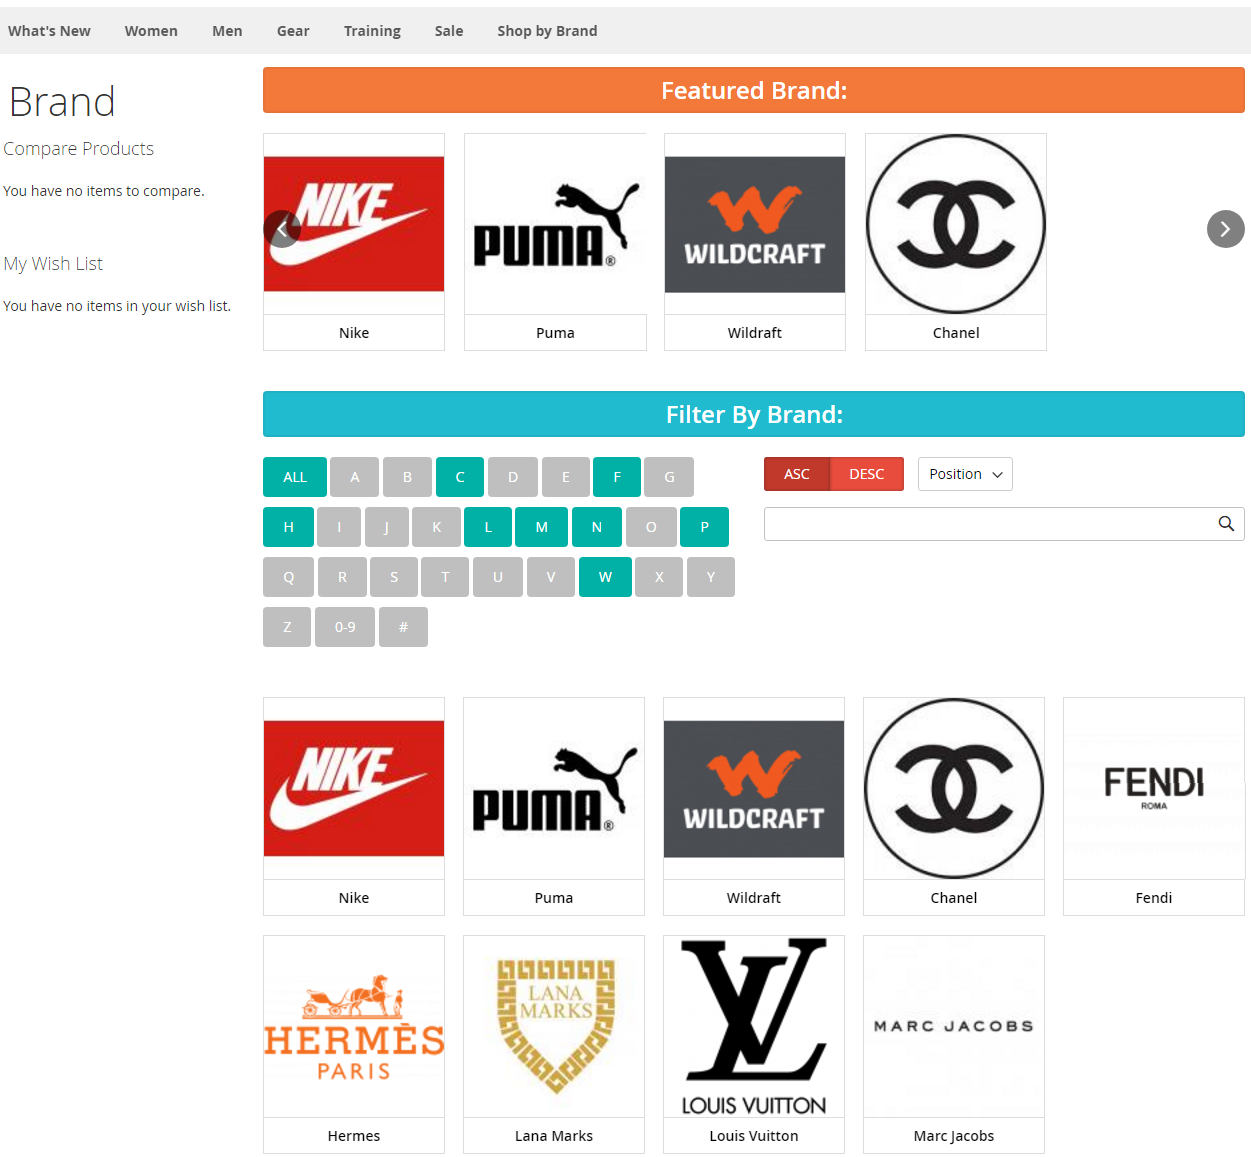
On the Attribute Specific Page you will be able to view the featured brands if any and the Attribute value / option list.
Here you can filter the options by below ways
- Alphabetical
- Ascending / Descending with name or position
- Search
All of the above filtering options will be performed without Ajax calls so eventually it shall increase overall filtering speed.
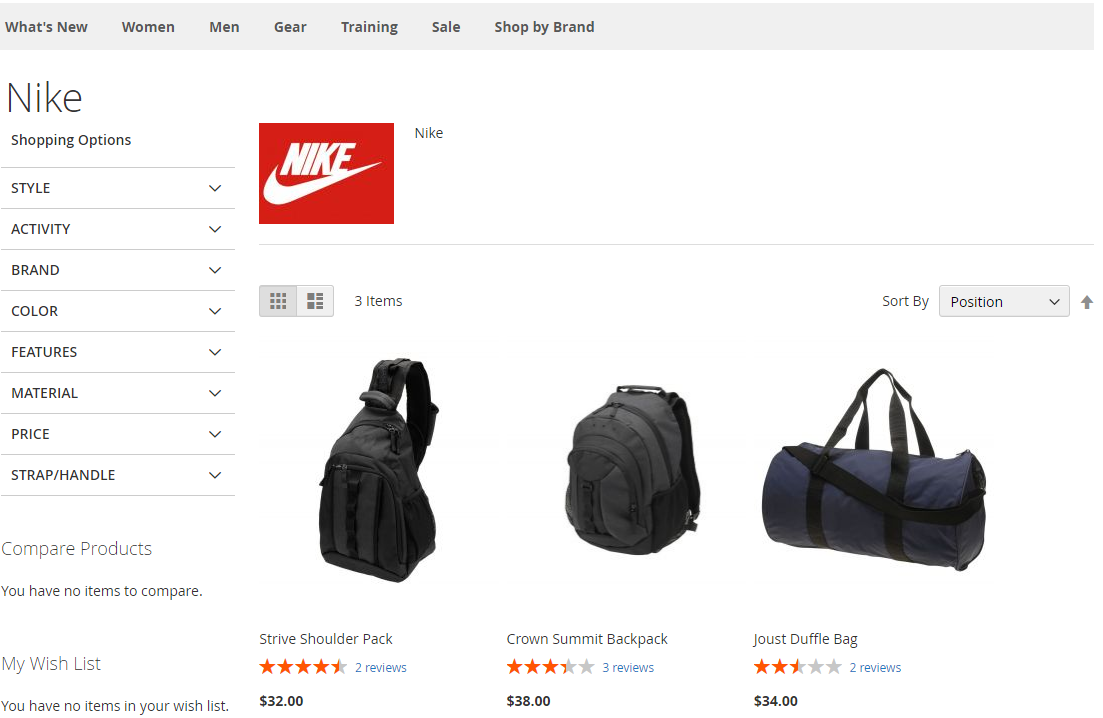
You can view the option specific product listing on clicking the option displayed on the attribute value page (Eg: Brand page and clicking on specific brand will display this page)
Note: Only those products which have the option assigned for that specific attribute value and are visible in either catalog or catalog/search will be displayed here.
Thank you for choosing MageDelight!